Tub on a spit.... or an old "twist" on bodywork
The most farmed out job on car projects usually ends up being the bodywork and paint- don't know why this is, as most of the expense incurred is the time intensive manual labor of block sanding, both filler and primer. Sure the materials and processed used in the actual paint job today are toxic and require special equipment and environment. But, the prep work to achieve a great final paint job is well within the reach of the hobbyist. Some can even go the distance and end up with great results - here's a guy who's doing a complete frame-off on a Jag, in his garage.... He even built a spray booth and purchased the supplied air respirator to shoot the 2K paints.
I've done bodywork before, but that was a while back. There have been a number of advances in the materials, and I spent a bit of time researching on the net, and hanging out at the local auto paint store to learn about the newest methods and techniques. The biggest change over the old way of doing things is sealing bare metal with epoxy primer.
First you strip the panel using your method of choice - chemical, heat, sanding, or a combination. Then a pass with a DA sander and 60grit to brighten the metal and give it some tooth. The prep the stripped panels with an alcohol based metal prep which further etches the bare steel. Then a single wet coat of epoxy primer. This becomes the base for any filler work. Polyester filler is hydroscopic, and it will absorb moisture through even the tiniest pin hole. It also generates heat when curing, and that heat in contact with bare steel can condense moisture out of the air, right where you don't want it. So you seal with epoxy BEFORE doing any filler work. Most brands of epoxy primer and filler now recommend this approach.
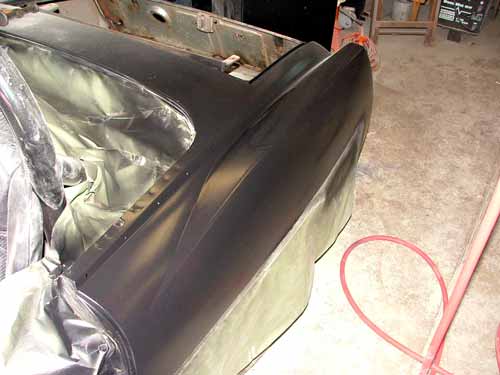
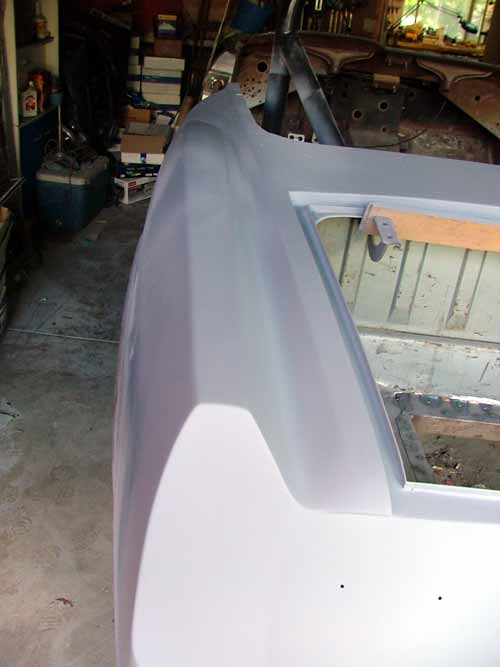
These pics are of the drivers side quarter panel which was widened. At this point, the prep work was done, A single coat of epoxy was sprayed, just thick heavy enough to cover the metal, then a skim coat of filler applied. There was some distortion from welding that I dollied as far as possible, given that some areas above the inner wheel tub were inaccessible.
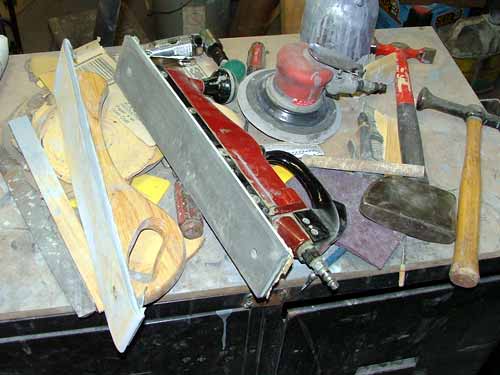
The filler was sanded using 80 grit on a long board to shape the contours, then smoothed with 150 grit on the same long board. Some of it was done manually, some with an air-file reciprocating board. A DA ( Dynabrade makes the best) or shorter block was used where the long boars wouldn't fit. Then a thinned down, seal-coat of epoxy over the filler.
After roughing in, a product call body-icing was used to skim any remaining visible defects. This stuff is a polyester filler the consistency of cake icing - thin and creamy, but self curing with a hardener. Sands easily with 180 and blends out to a feather edge. Then 2-3 wet coats of a high build primer-surfacer goes on, and most will be sanded off. 180 on a long board, using a criss-cross action across curved panels really smoothes things out, finding the highs and lows.
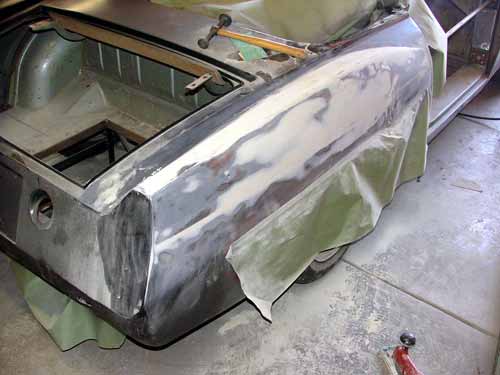
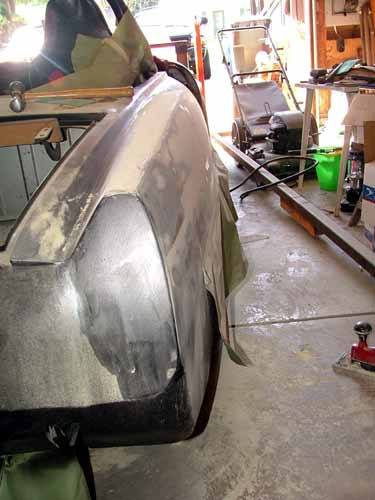
Here's the passenger quarter during the filler process. I used a two part epoxy paste to do the initial fill of the seams where the trim mounted, before applying filler. I wanted to be sure that no moisture could get through from the back side. The filler on the sides of the panel is less that 1/32" thick, and along the top its still less than 1/16" where the worst deformation was.
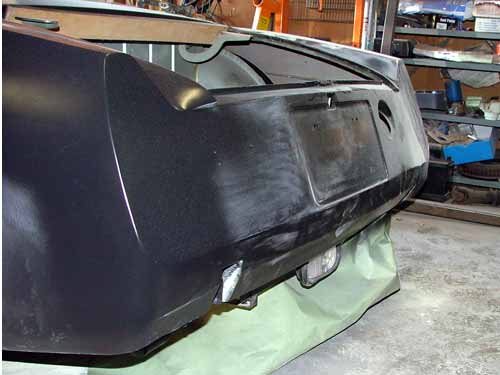
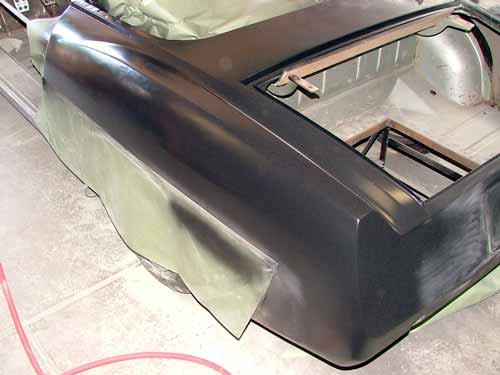
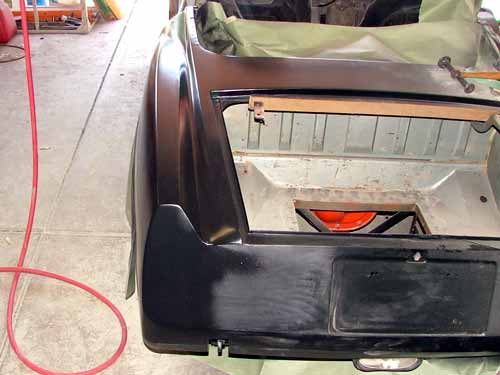
Same process on the rear panel - after stripping it, I found a total mess. The car had been hit in the ass end, and the metal was stretched quite a bit. I dollied it out as far as I could without further stretching. Whoever worked on it last had tried the old torch method of shrinking it back, but was less than successful, given the 1/4"+ of mud I found when I stripped it.
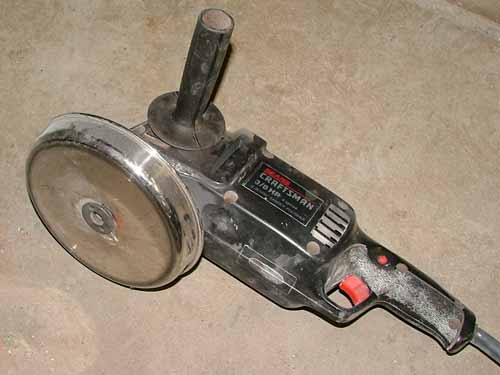
Somewhat discouraged, I did some reading and research - found out about a wonder tool called a shrinking disk on Metalshapers Association - better yet, found a photo essay from a guy who made his own out of a thrift store cooking pan lid. Off I went to the Salvation Army, and came home with a lid (and pan) purchased for $1.50. Drilled a hole in the center, chucked it up on my high speed grinder, and shazaam, instant shrinking disk. The thing works like magic - spin it up to speed, and run it against the high spots til they start to change color. Quench with a wet rag, and the metal starts to pull back to its original shape. A half an hour of alternating between the disk and dolly, and I had it REAL close.
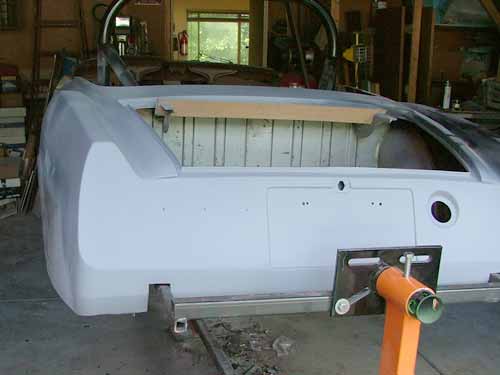

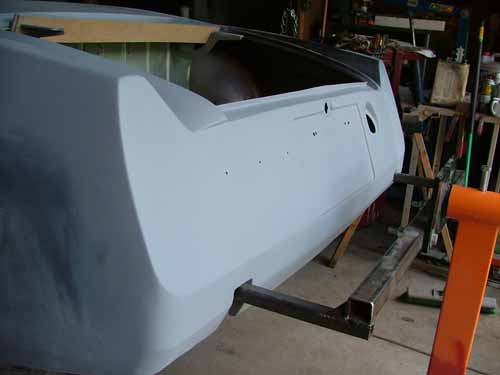
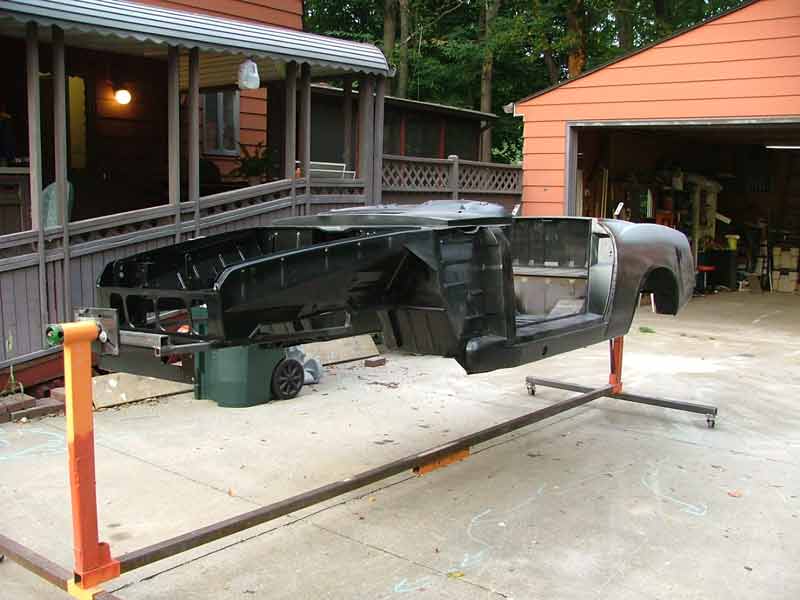
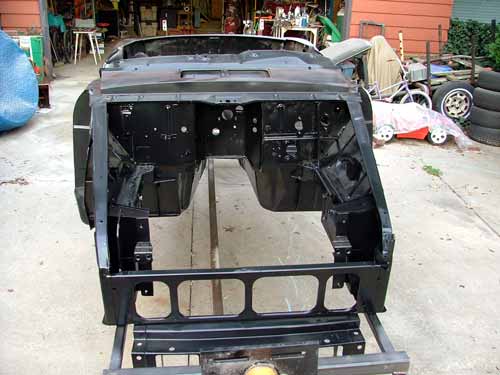
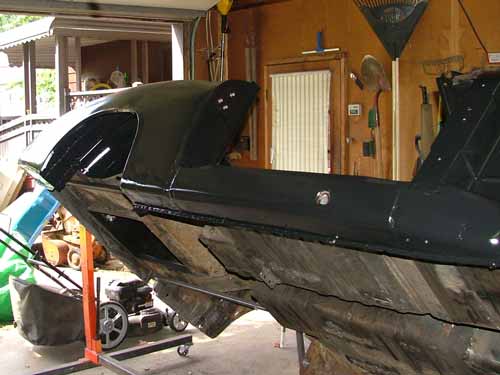
Some filler, epoxy, icing, and surfacer, and its ready for final blocking. You can also see that is now up on the rotisserie. I did the back panel and when it was still down on the chassis, since the mounting frame would have been in way.
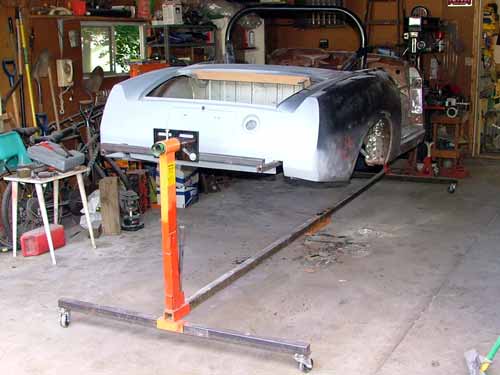
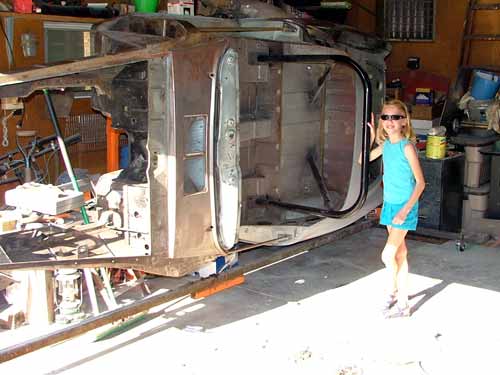
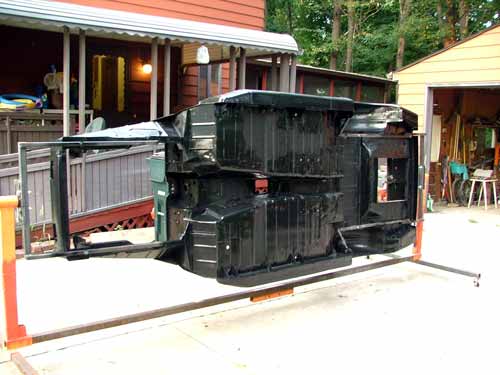
Here's the tub on a spit...and I must've guessed / eyeballed the CG pretty close, since its very well balanced as demonstrated by the lovely and vivacious young Miss Sydney. 50 lbs. soaking wet, yet she can spin the body by herself...."Wow Dad!"

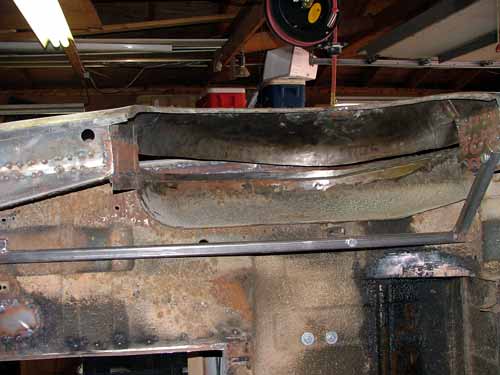
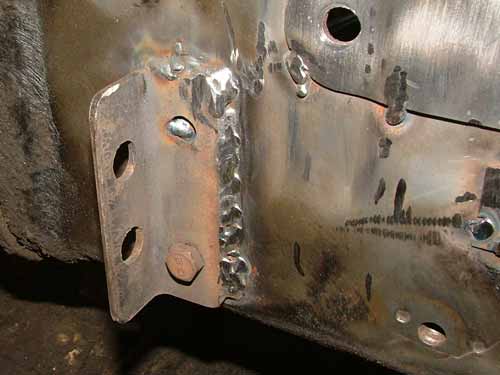
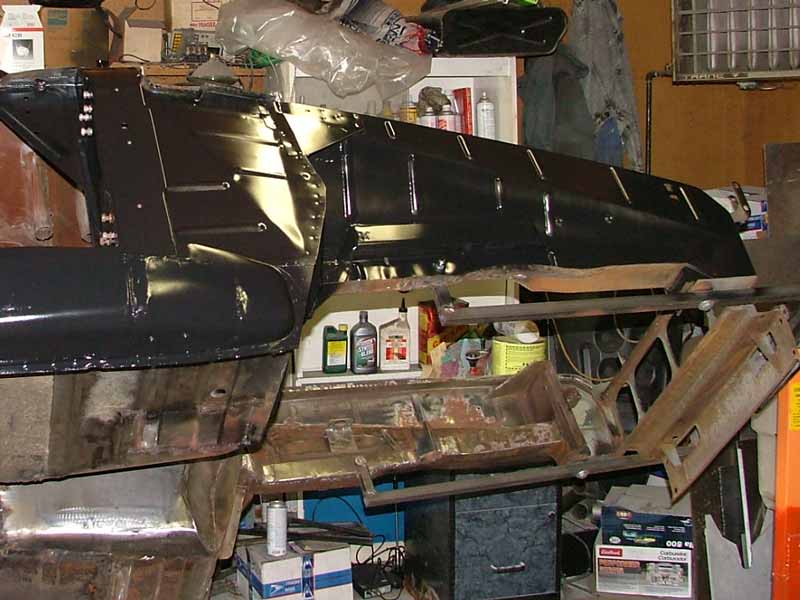
A close-up of the front mounting frame, and the inside of one of the wheel arches waiting to be filled / welded where I split them to widen the body.
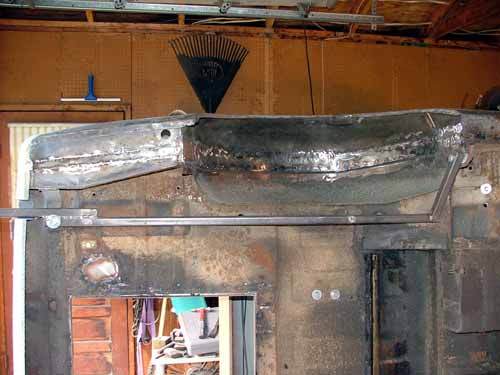
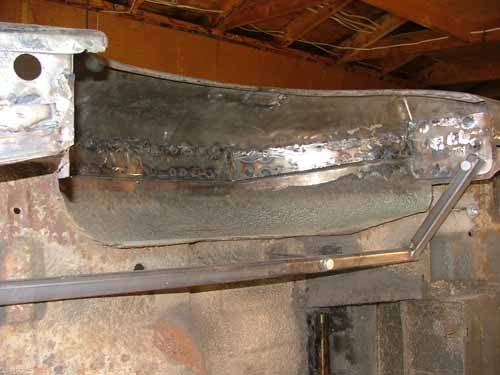
Here they are welded up - a job much easier to do with the tub upside down rather than getting a face full of weld splatter!
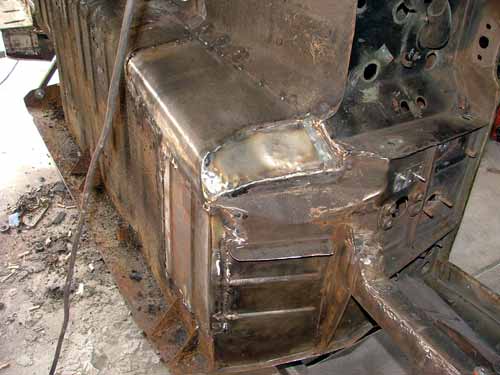

Same was true of welding up the bottom of the trans tunnel and floors
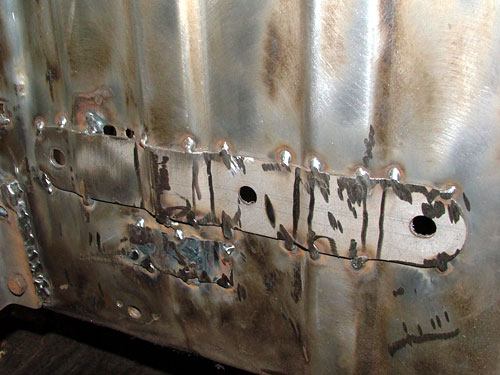
Doublers formed and welded in for the new seat mounts
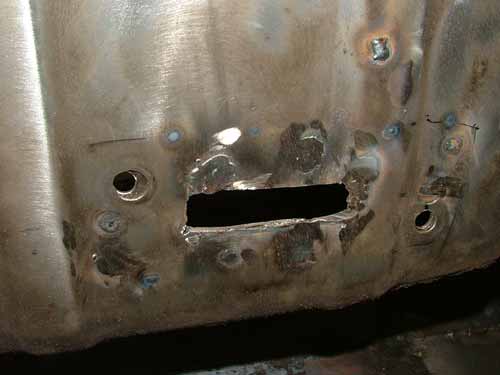
Opening with doubler-plate, and dual-cable bracket for the Merkur E-brake handle / Mustang cables.
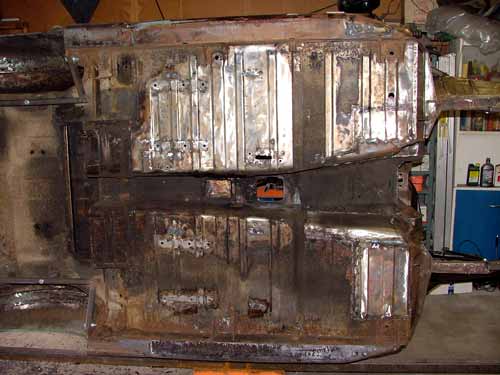
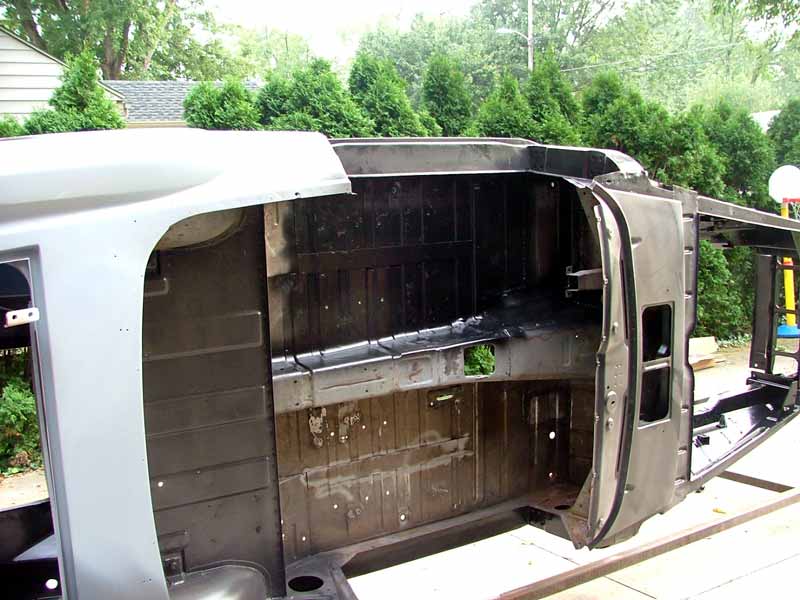
Out to the drive and a session with a pressure-pot sandblaster. Engine compartment, floors, and under side were all blasted to remove paint & rust. On the underside, I didn't want to take the time needed to completely strip every scrap of undercoating - I figured if it wouldn't come off with 100psi sand, then it was stuck on real good, and the metal underneath was sound.....
Followed the blasting session with epoxy primer. Underside then got seam sealer, and will be painted before undercoating. Since its going to get covered anyways, I asked the paint shop if they had any mis-tinted paint sitting around - lo and behold, a quart of a dark blue for half price! Such a deal!
Didn't get the inside of the tub completely done that day, since the thunder was threatening rain, and I had a WHOLE BUNCH of bare metal hanging out - will have to get all gritty again. Sandblasting has to be one of the worst jobs imaginable - covered from head to toe with hood, coveralls, gloves, etc. and you still find sand in every crease and crevice on your person.....

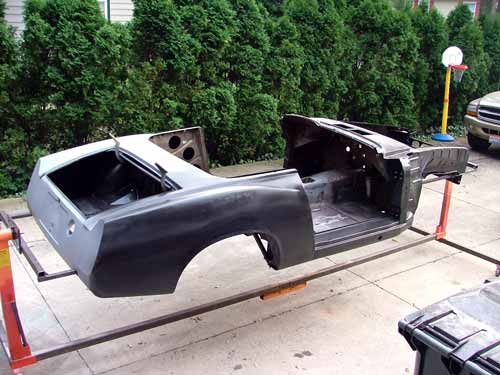
The rest of the outside of the tub in epoxy. Since taking these, I've gotten the filler work done on both sides where the original lead was stripped, as well as some creases along both rockers.
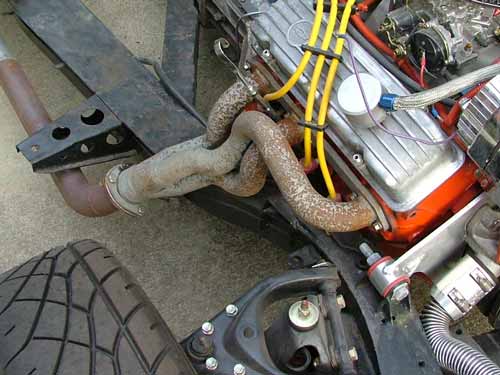
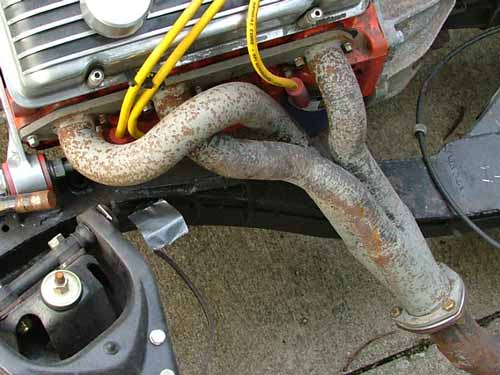
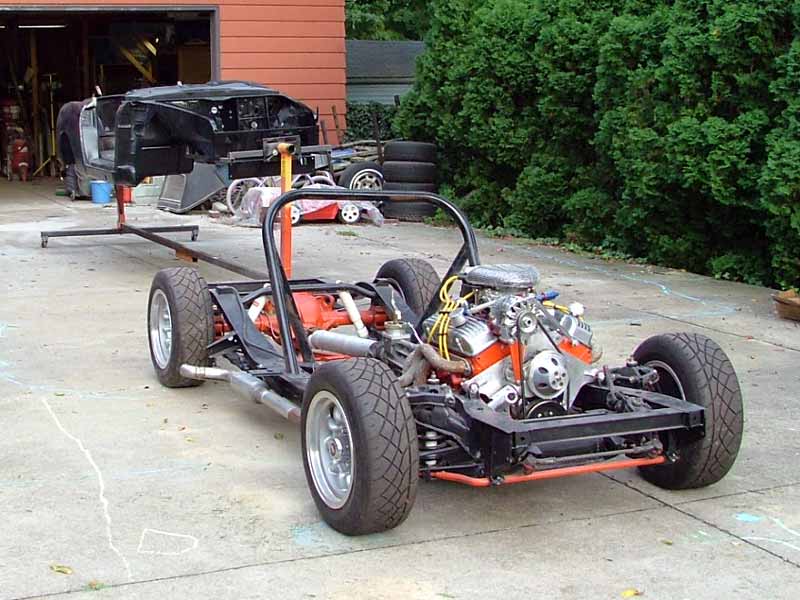
If someone ever recommends Eastwood's high temperature coating to you, laugh loud and long.....the headers were new steel, sandblasted and washed with lacquer thinner prior to application. First time I fired the motor their coating started flaking. The frame has been sitting under a tarp in the drive while I've been doing the body, and you can seen how well the coating protected the tubes.......guess I'm gonna have to bite the bullet and go Ceramakote or Jet-Hot.
Parting shot - with the roll bar just sitting on it, I'm thinking go-kart... all it needs is a seat, pedals, and a wheel! "Well officer......is happened like this. My buddies and I got to talkin', and that milk crate was handy..........."