Hi Ho, Hi Ho, its off to sand I go!
There used to be a "Snow White" brand of body filler...
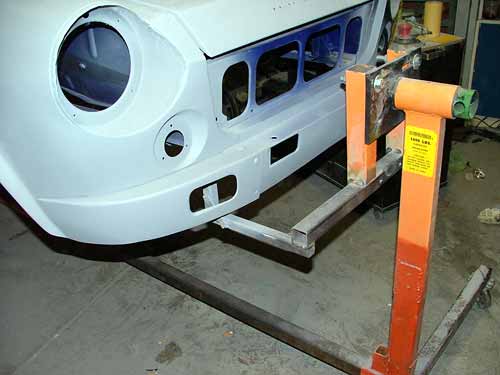
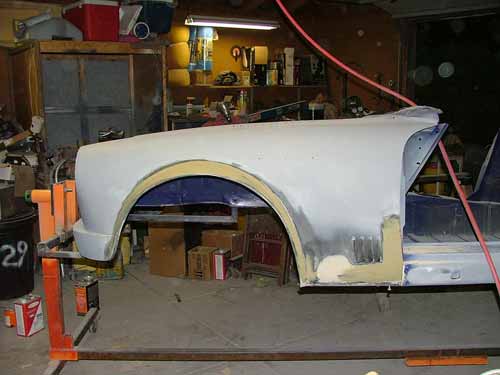
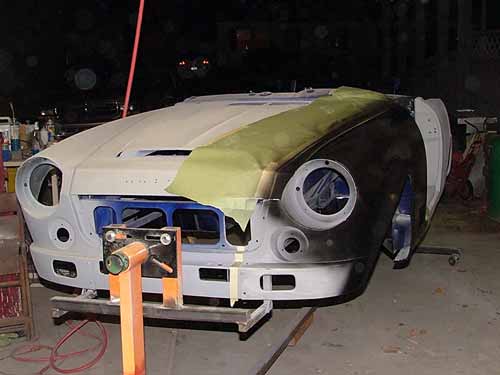
As I was working on the passenger side fender, smoothing in the flares and icing dents, etc., I came to the realization that the chemical dipping process attacked the lead in the headlight bucket area of the fenders. I was going to have to get the fenders and hood together to rebuild those corners, and the original design for the rotiss wouldn't allow that....as they say about scheming rodents....
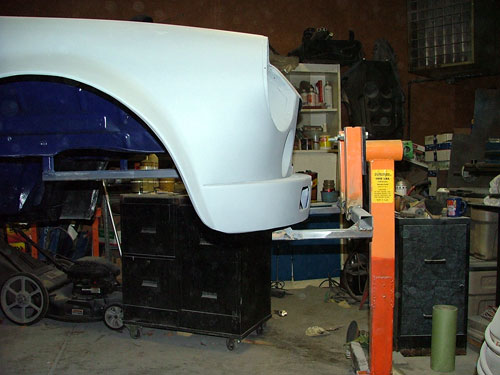
So out came the tape, cut-off saw, and welder along with my circular saw and some wood to make a temporary support to hold up the front end of the tub up while I did surgery on the rotiss. I was able to put a drop in the rotiss frame so it would go under the front "valance" and let the fenders bolt on.
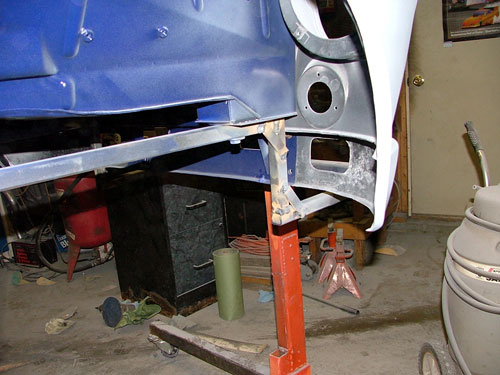
The welds aren't pretty since it was Saturday, I was out of argon, and the welding supply place was closed, so I had to revert to flux-core - oh well, at least it works.
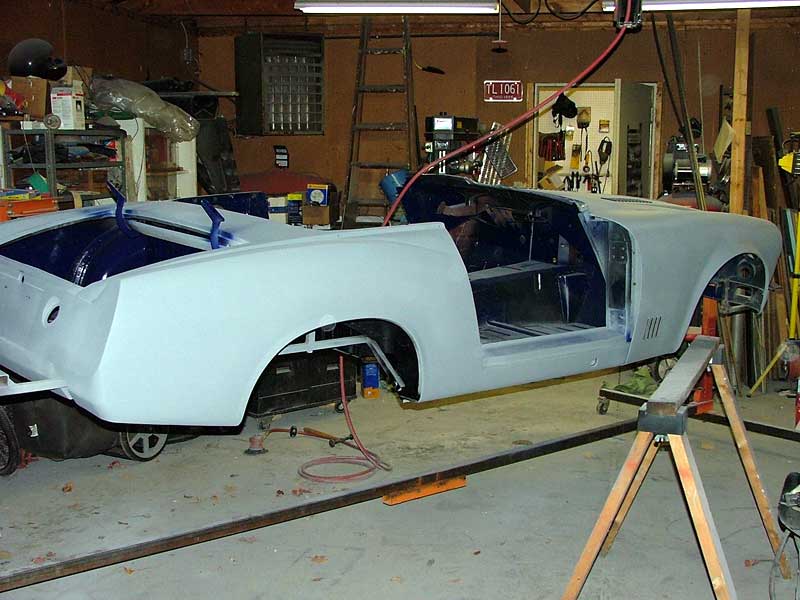
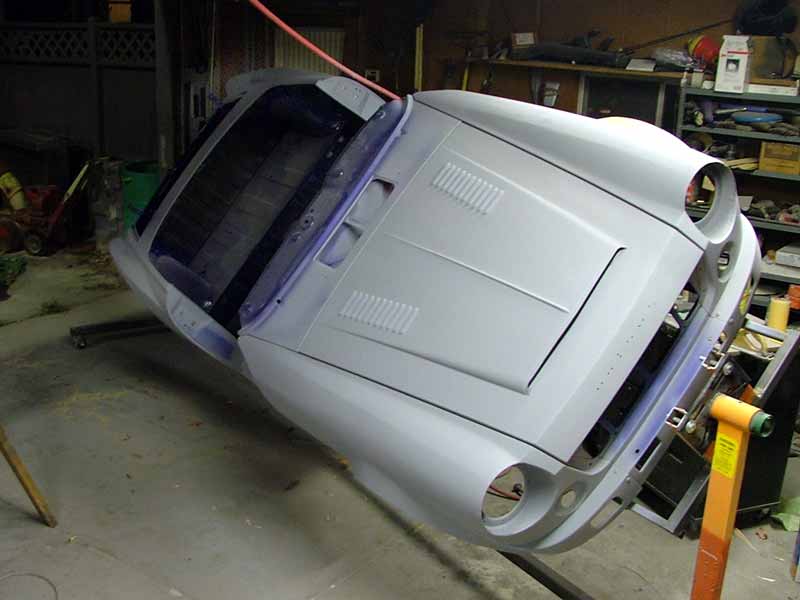
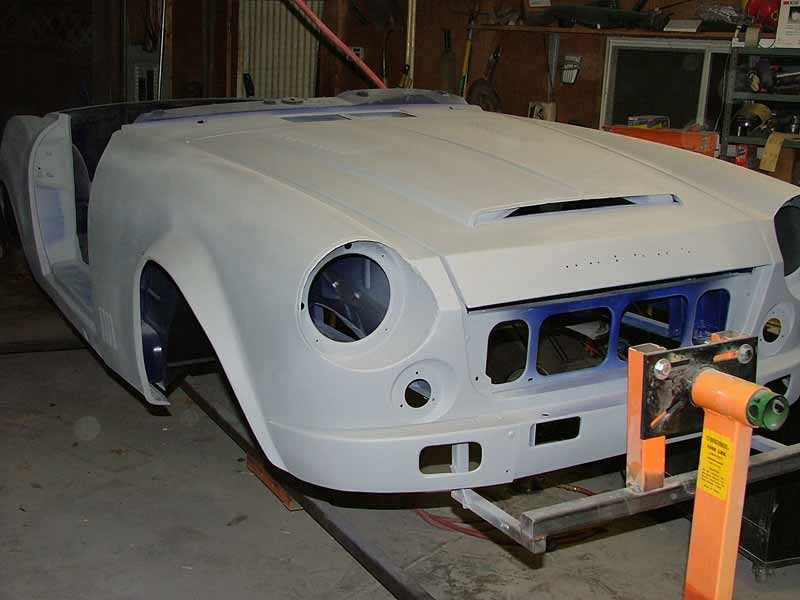
Starting to look like a car again! Interior, trunk, and engine compartment have 1st color. Some may notice an addition to the fenders behind the wheel arch.......
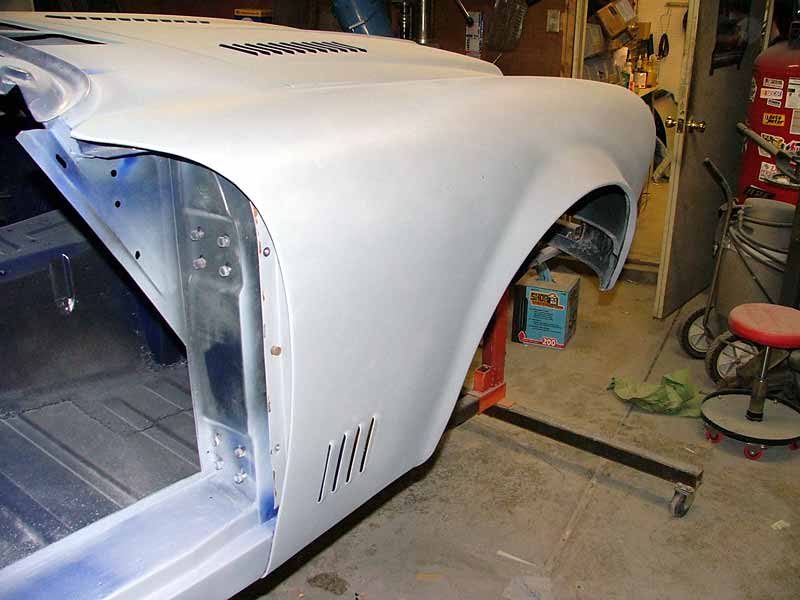
I had some louvers punched to help let out the hot air I felt would be trapped inside the fender since that's right where the headers exit. Flares smoothed in ok, and the patch panels at the bottoms blended in pretty quickly.
Here's the driver's side fender skim coat before sanding. The upper portion had already been iced over the epoxy and some surfacer. The arch was only in epoxy before applying the filler - with drying times, you sometimes have to mask and multi-task....
Side view of same.
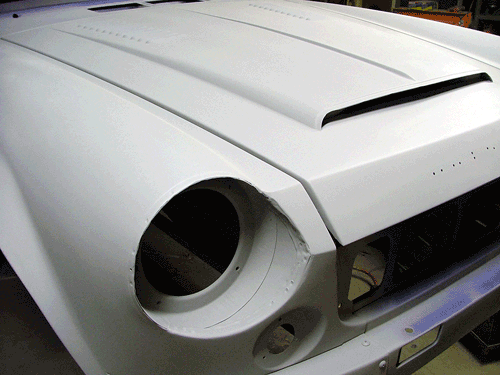
After smoothing out the filler, another coat of epoxy. Still needs surfacer, sand, surfacer, sand.........
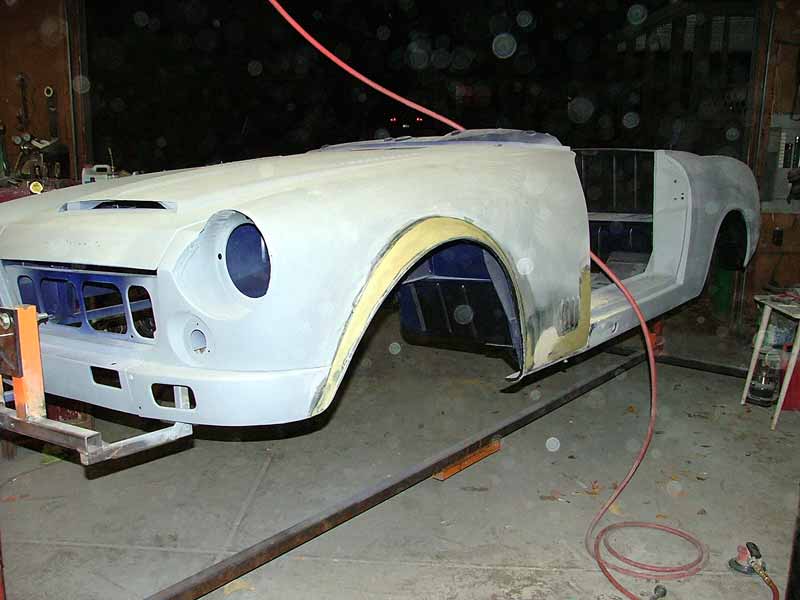
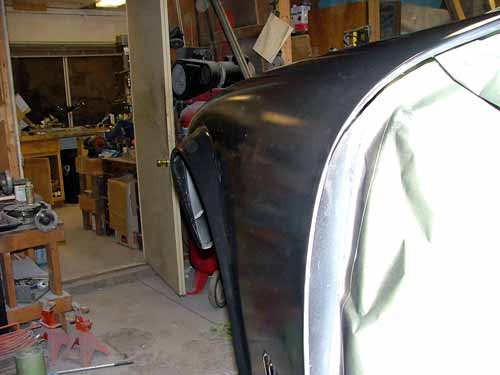
Nose corners redone.

And...my favorite picture of the night