Details & Glimpses of things to come...
Details:
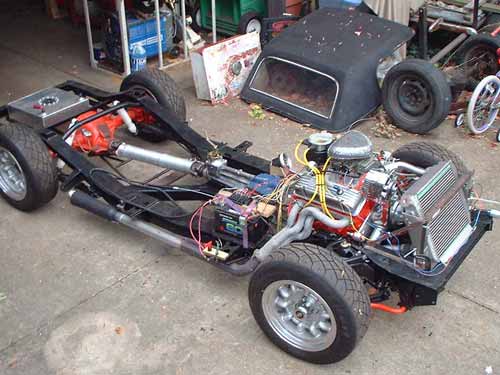
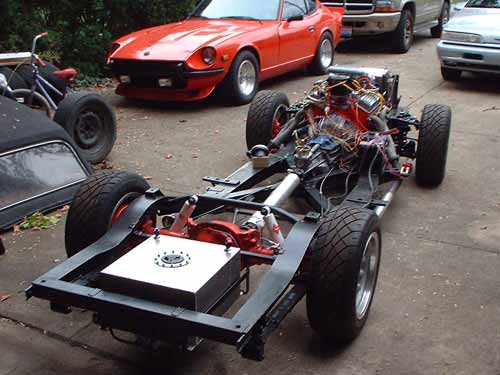
After the photos on the chassis page were taken, its started to look like I'd finally get the rolling chassis finished. Then I had to do the a-arm, and the brakes....
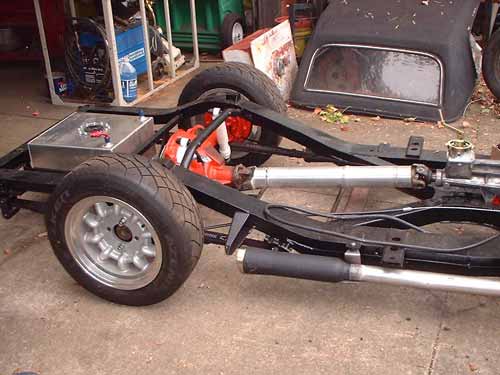
I hooked up the exhaust, welded up a temporary frame out of angle to hold the radiator, and put together some temporary wiring with a fuse block to mate with the plug on the engine harness so I could fire the motor. I also had the drive shaft made up - bought Crown Vic aluminum shaft off Ebay for $40 including shipping! It was like 52" long, but only weighed 18 Lbs. and had the proper companion flange for the Ford 8.8 axle. Cost me $140 to have it cut down to 29.25", re-balanced, and new Spicer U-joints - quite a deal.
There will be aluminum exhaust deflectors mounted in the channel under the rocker panel and ahead of the wheel tubs to divert the output from the twin Supertrapps.
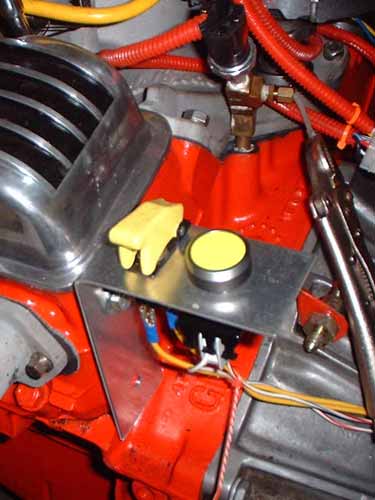
As part of the temporary wiring, I bent up an aluminum bracket to mount the flip-to-arm ignition switch and starter push button that will eventually end up in the dash. Also pictured is one of my few splurges - I found a very good price on Ebay on a new in box Pro5.0 shifter that would accept the short throw lever I already had. Should be a "bit" stouter that the "Frankenshifter" I had cobbled together from a 'Stang and Camaro shifters.
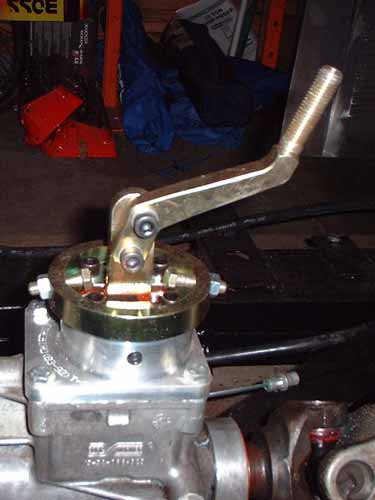
After setting the initial timing, I strapped a freshly charged battery to the frame rail, hooked up the cables, primed the carb, flipped the arm switch, and, after crossing my fingers....pushed the start button. A few jabs on the throttle and she fired right up. Still have some tweaking to do on the carb, but that will have to wait until I can drive it and run the engine under load to do a proper break-in.
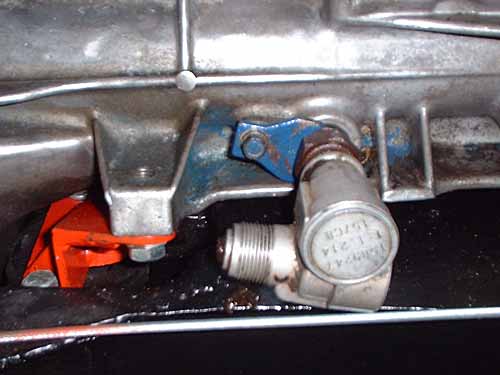
When I was putting the transmission back together with the rebuild kit, I couldn't find the speedometer gear hold-down - I had misplaced it somewhere. So I go out in the drive to look at the Chevy 200 automatic that came with the car to see if it had one. It did, and lo and behold, it also had a 90 degree gear drive hanging off it that would solve the speedometer cable routing problem. I took it apart, cleaned, reassembled and lubed, and it works great. The silver line across the bottom of the pic is an E-brake cable just sitting there to keep it off the floor.
Glimpses:
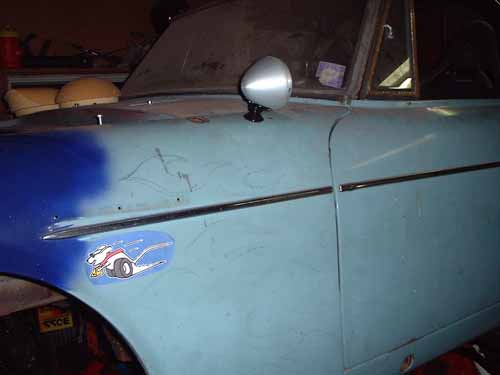
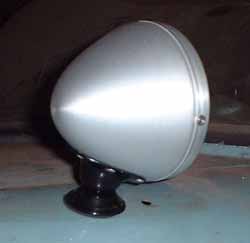
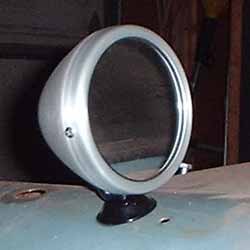
Wow, two splurges on the same page! When I saw someone post to the Roadster list about vintage mirrors, I spent an evening surfing - found a company that has Raydyot re-pops very cheap - www.cobraaccessories.com - something like $43 for flat, $49 convex - they don't have the "Raydyot, Made in England" on 'em, but who cares...... Since it'd been a while since I bought any parts, I decided to go for 'em. They'll fit in well with the look I've decided on for the "R".
Now that the chassis is just about done, I've really started planning the work on the body.
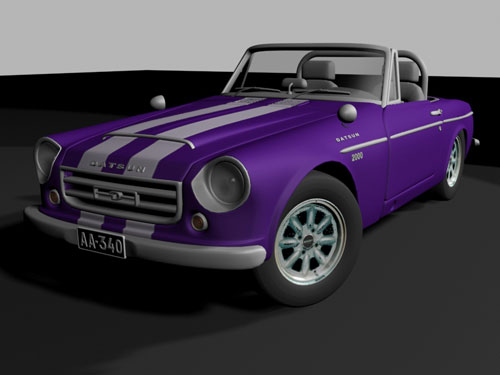
I recently found a 3D model of a Roadster at www.tubosquid.com and asked the author if he could export it in 3DStudioMAX format. Its a pretty decent model file, and it has let me play around with some color ideas - I even tried the "R" in the Z's color scheme.
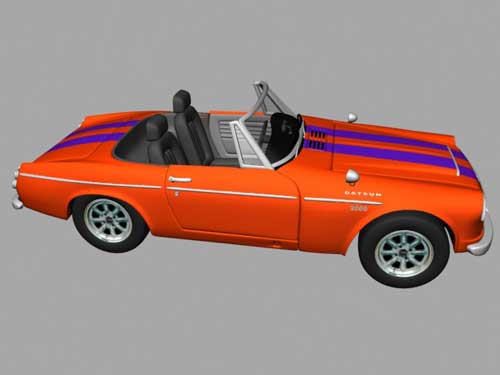
During the many hours of mechanical work, grinding, cutting, welding, and scraping goo, I've had a lot of time to think about what the final product should look like. I've finally decided - I want it to look like I found an old, hot-rodded, 60's sports car just sitting somewhere - like it had been parked for 20 years. Perfectly straight but neglected and ignored.
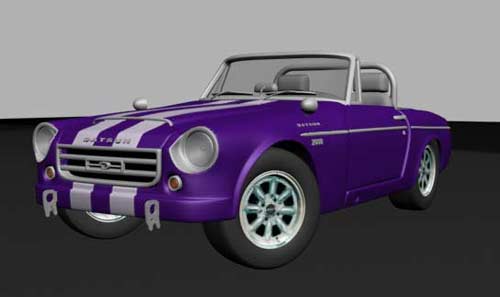
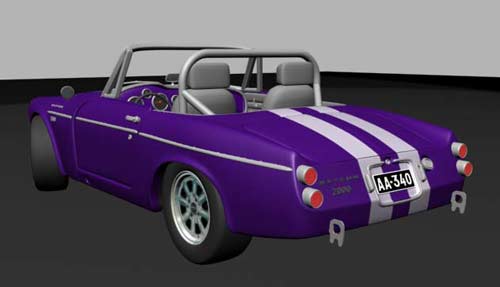
I'm going to paint it the cobalt/purple/WD-40 can blue, but its going to have a flattening agent in the paint on all the exterior surfaces.... under the hood and inside the trunk ( and maybe the interior) will "still" be nice and shiny, but the outside is sun baked city........
Dual argent silver stripes, 1966 Ohio plate, and all the bright work will be either epoxy primed and painted or powder-coated the same argent / spun aluminum silver. The Autometer guages, shift knob and bezel and stereo are all the same aluminum.
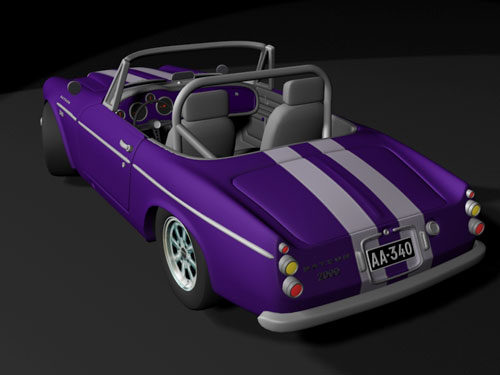
Still mentally debating doing the rounded tail -vs- larger stock looking bezels with 4" LED units.
NEW*** I think with a roll-pan filling the space below the bumper - "Bumpers, .. bumpers, we don't need no steeenking bumpers!" - some aluminum tow-loop / jack-point nerfs would look way cool, and be period "correct". Then I'd want to add some taillight housing that mimic the originals, but are larger to house 4" sealed LED units. Since the back end is going to be 2-1/2" wider at the tail, the larger lights should look proportionally correct.