Header Construction
I've never built a set of headers before, so I did some research, and found a book " The Metal Fabricator's Handbook" by Ron and Sue Fournier that has a chapter on header construction. Bought a copy on Amazon. I highly recommend this book to anyone doing any kind of metal fabrication.
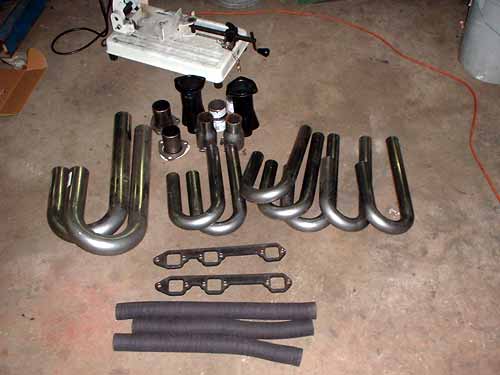
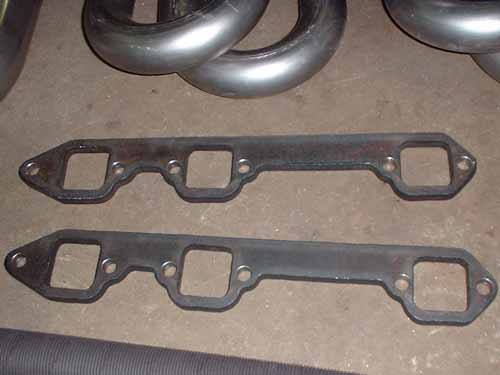
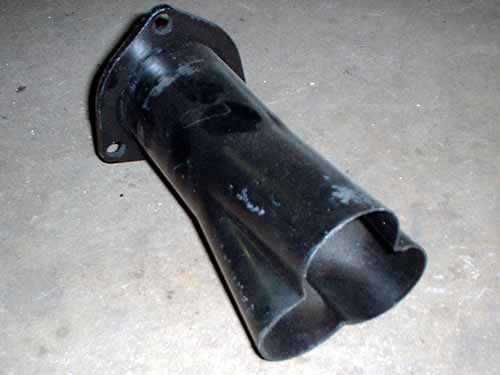
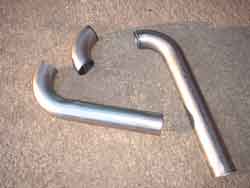
To build the headers, I had to put together a do-it-yourself header kit which consists of the flame-cut flanges ( bought on Ebay), collectors ( from Clifford Performance), and mandrel bent "J"-tubes ( from S&S Headers. Also needed reducers to go from collectors to exhaust tubes ( bought locally at Advanced Auto). Flexible heat-riser tubes can be used as templates to determine what bends have to look like.
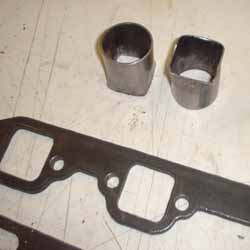
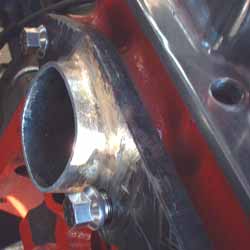
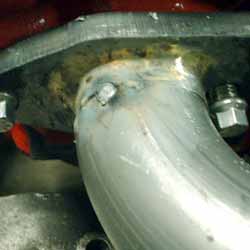
First step is making the stub tubes. This required making a mandrel from 1.5x1.5 hot rolled steel bar stock. Angles were ground on the bar to match dimensions of the port opening, and conical radii were ground on the corners. Short lengths of tubing were forced ( hammer) over the mandrel to form the transition from round to rectangular.

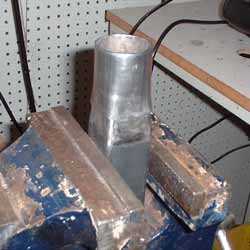
They were tacked into place in the flanges, then final fit by heating with a torch, and hammering on a short length of round bar stock to force them to conform the the port to get the fit perfect.
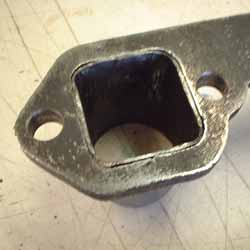
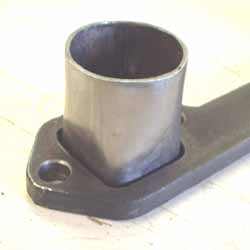

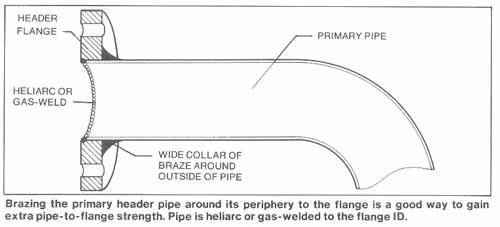
They were then welded in on the head side, and they other side filled with a collar of brazing, as shown in the illustration from Fournier's book.
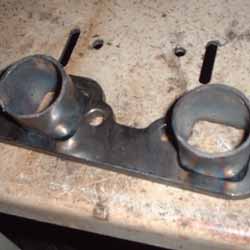
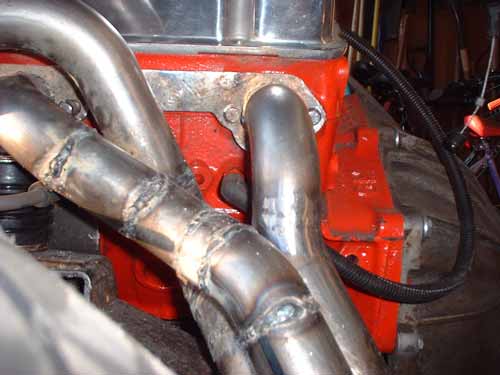
I had already clearanced the body-rails, and this gave me room for a 90 degree bend to come off each stub. The first "J"-tubes were cut in half to give me the 90's and they were tack welded in place.
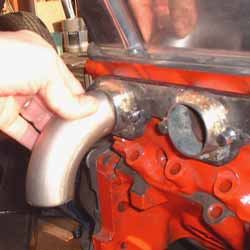
Then the fun began...... building a set of these is like trying to complete a puzzle that has all black pieces - you know it will go together, but only after a LOT of trial and error. You have to consider a number of things, like being able to change spark plugs, clearing the steering, being able to insert and tighten the header bolts, tire and suspension clearance, and Oh, by the way, all three tubes have to meet parallel at the collector.
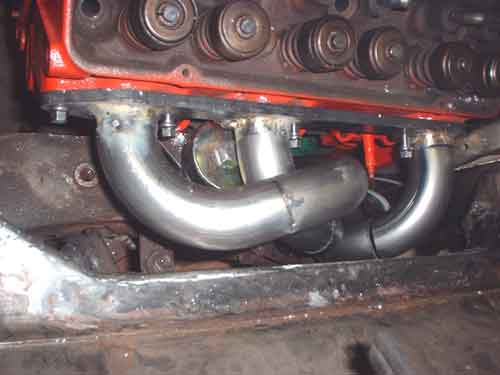
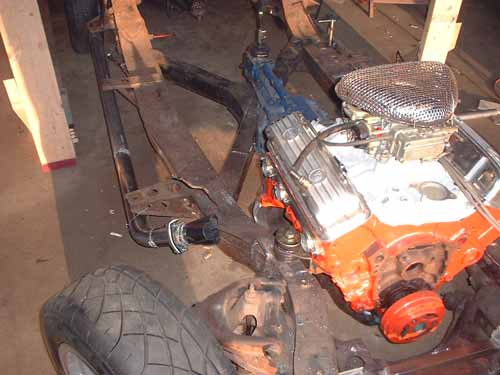
Having the body in place on the frame helped eyeball how the upper portions needed to be routed, but later we had to lift body to figure out the lower ends.
Have to be able to change plugs, don't we....
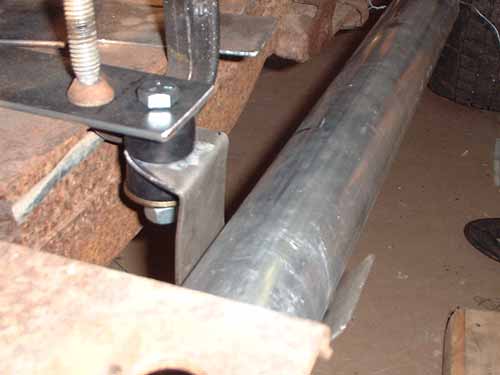
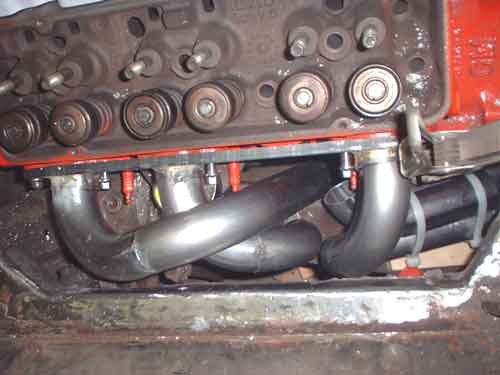
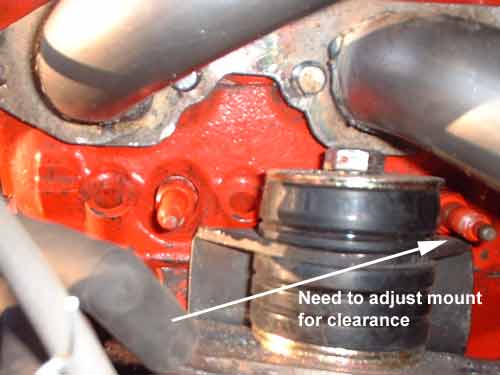
Initially, I'd planned on routing the exhaust through the X member, but it became VERY obvious that that approach would never work. So the alternative is to route collectors into the wheelwells, and the duals under the body mounts on the frame. Dave Pina has some pictures of the exhaust he had put on his Roadster at www.picturetrail.com under the album "rdstracrpina", and so I used this approach as a good example. The tube hangers are fabricate brackets with sway-bar end-links for vibration isolators.
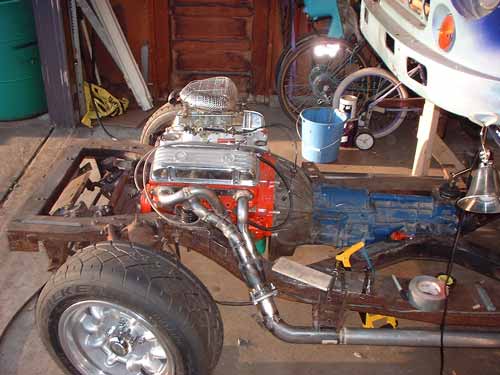
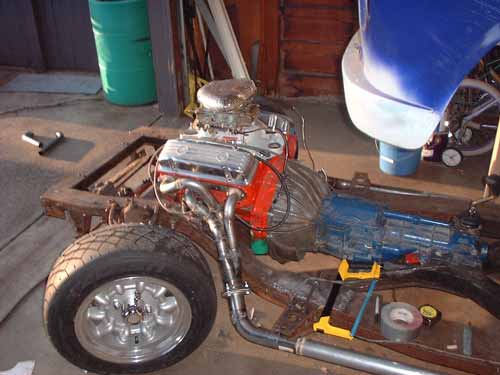
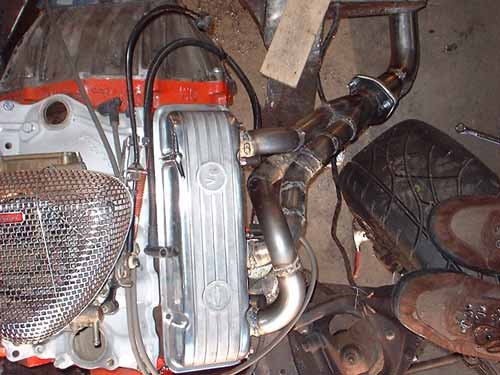
So here's the welded driver's side completed except for cleaning up the welds. The passenger side beckons.....but will have to wait til I return from my latest trip to China.........