By the power vested in me, I join thee.....
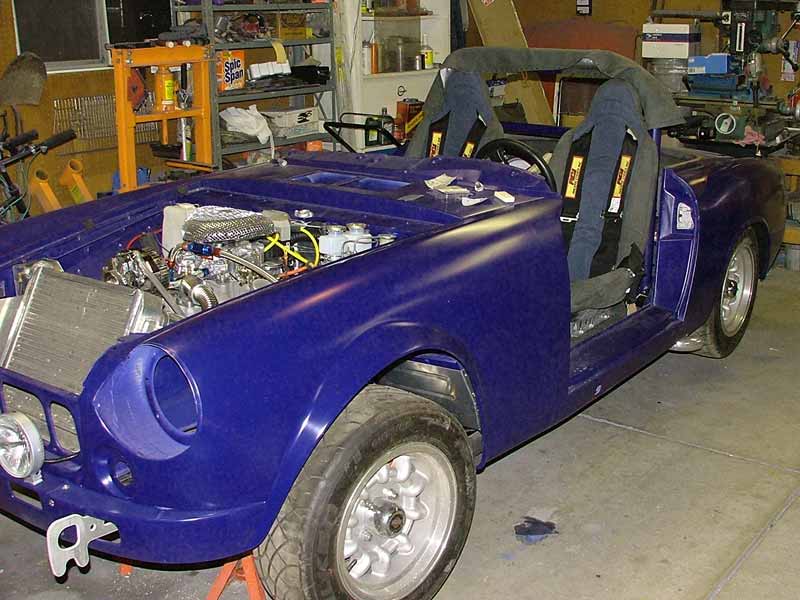
Lots of things had to be completed prior to re-joining the tub with the chassis. These took a lot more time than I thought they would, and as often happens, one thing led to another. On the last page, I said I had to get some of the aluminum interior panels done before installing seats and roll bar. Well, as I worked on those, it became apparent that a lot of other items that were slated for later in the build ( like after it was drivable) would need completed prior to the marriage. Details of those follow, but first, some pictures of the happy couple.
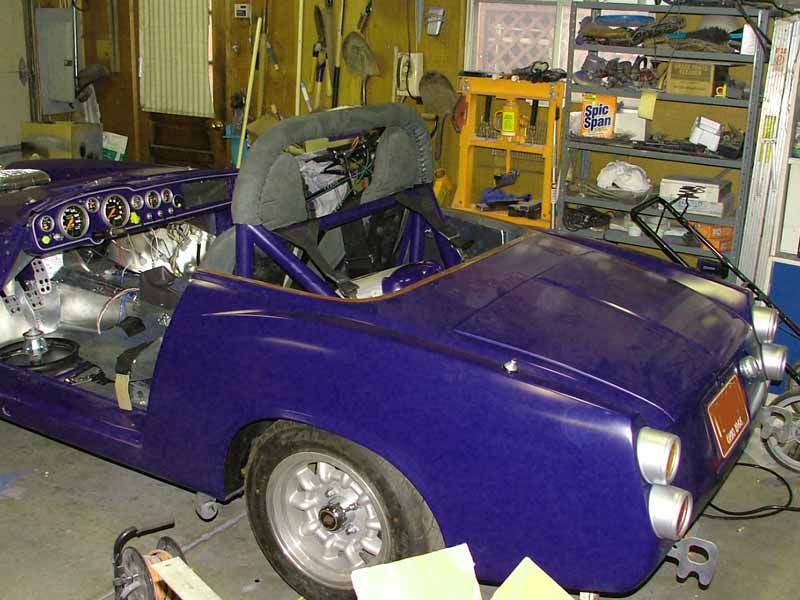
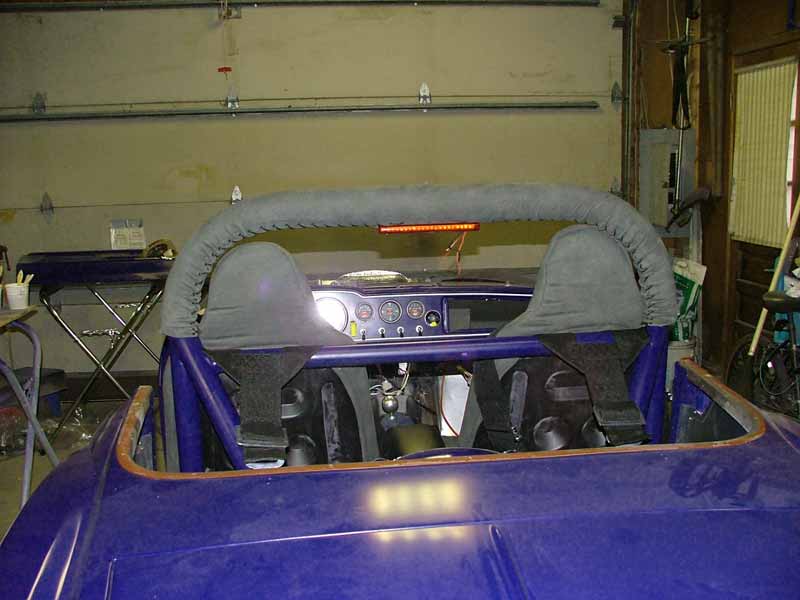
Seat covers are two-tone Ultra-suede, as are floors rearward of the floor cross-brace and the roll-bar cover. I decided after getting the seats done that the blue 5-points were too bright, so I picked up a set of black ones and will off the others on Ebay.

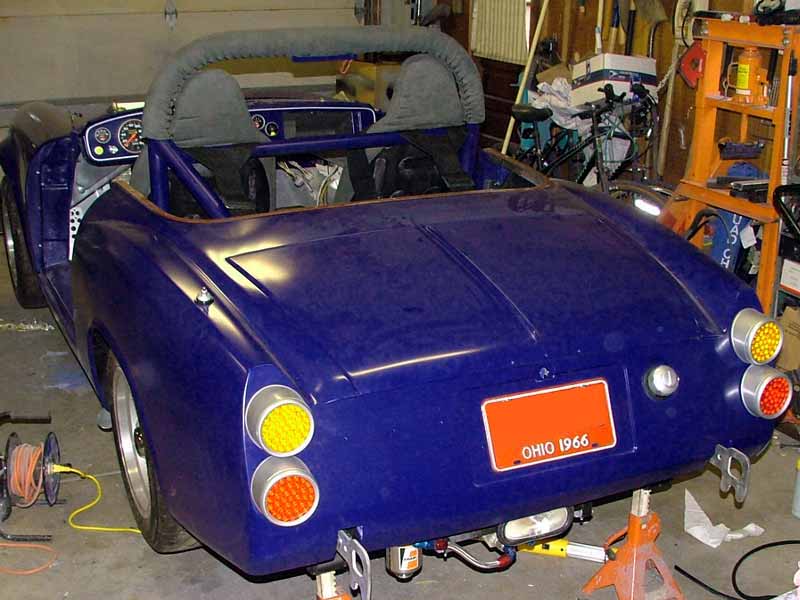
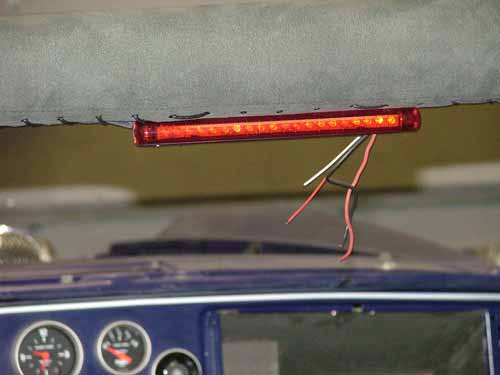
The LED taillights and jack-point tow loops work pretty good together. Doesn't look like there'll be room for reflectors above. Rear mounted antenna
Everything came together as if it were planned that way - I guess close to 4 years of work paid off.
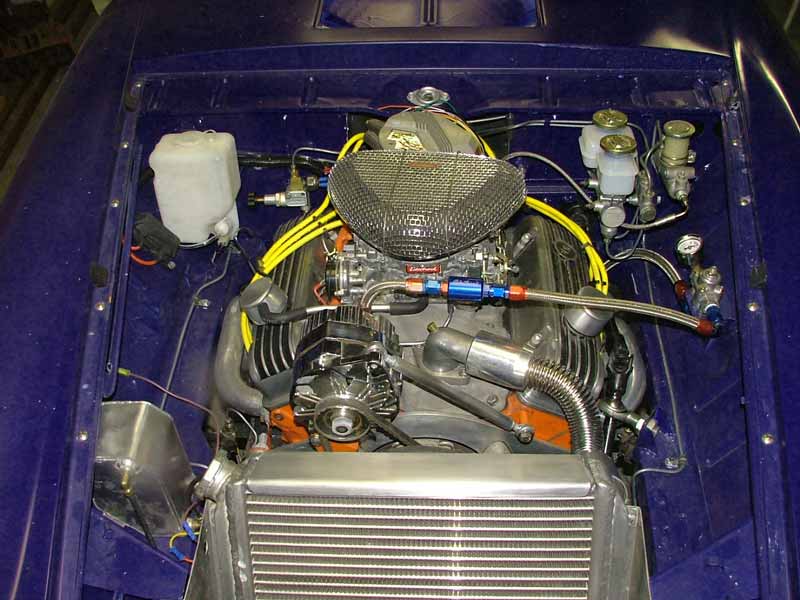
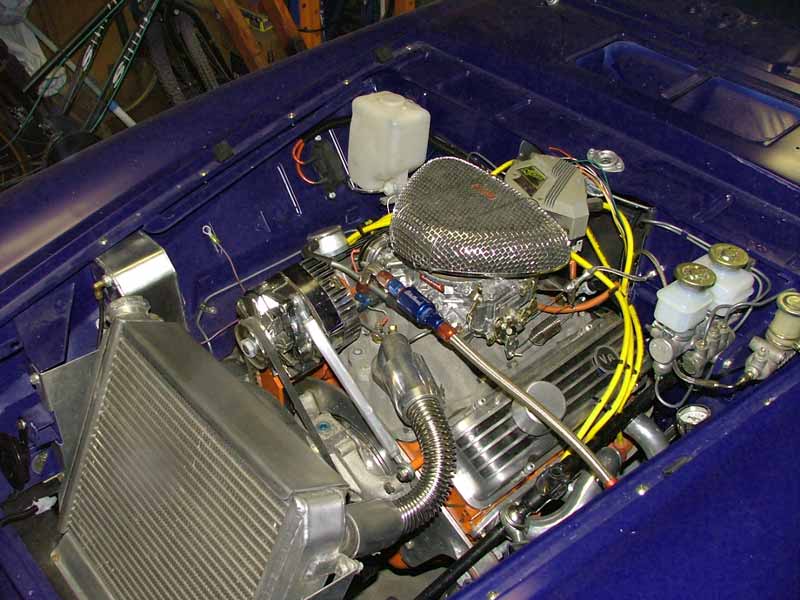
As soon as the body was dropped, squared, and bolted down, we started hooking things up. Most of the pieces were done prior, so it was just a matter of bolting them together. A few lines and hoses needed flared or fittings based on final length. Still have to hook up the radiator hoses, and wire the front end.
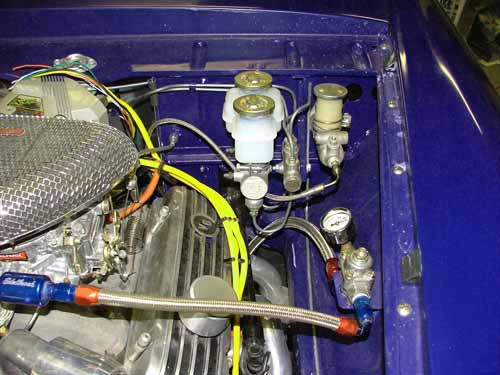
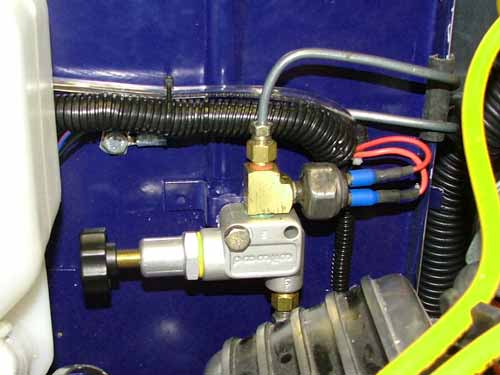
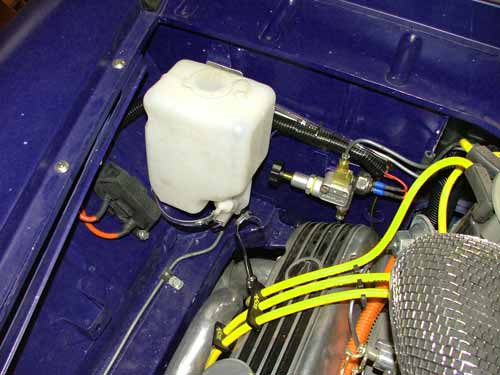
Brake and fuel plumbing. Proportioning valve on passenger side, with pressure activated stoplight switch.
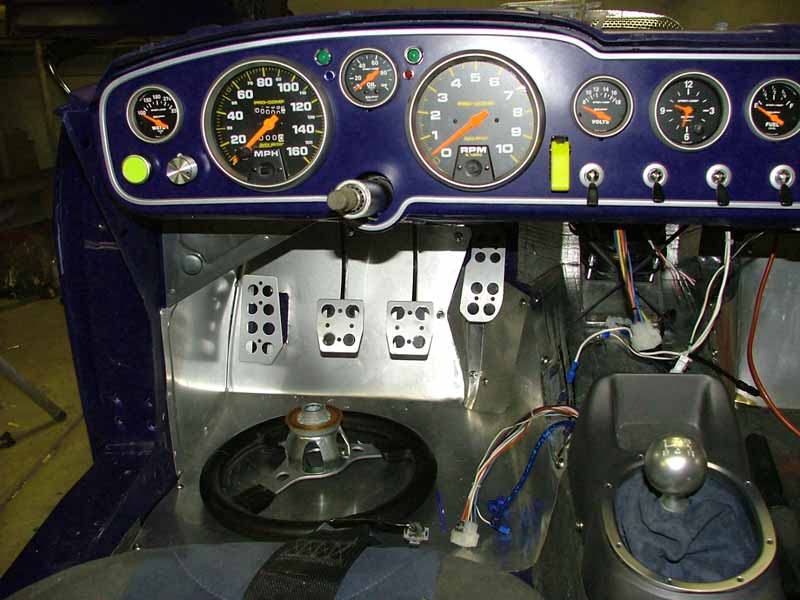
Steering linkage fits and works beautifully.

Most of the interior relied on installation of some component that had to be attached from underneath, so most of it was done before dropping the tub. I decided it would be easier to fab the aluminum floors working at waist height instead of on my knees, so those were done too.
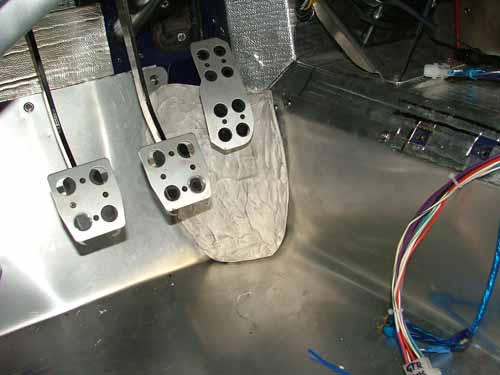
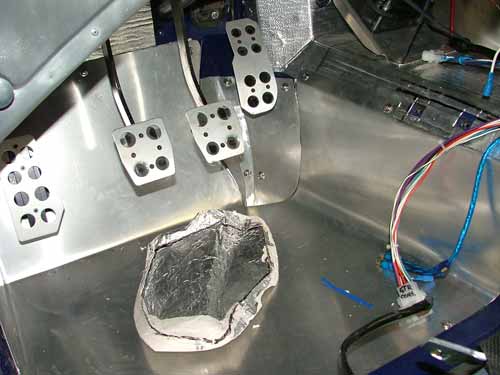
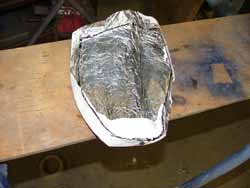
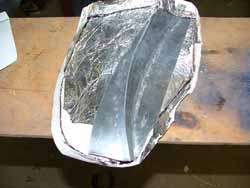
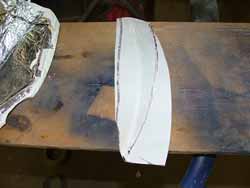
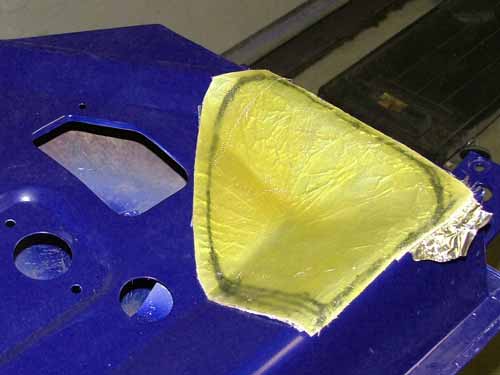
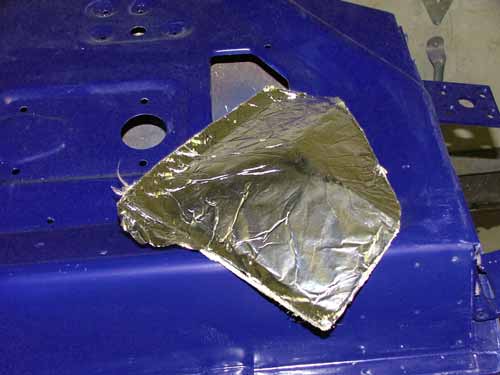
The area under the go pedal proved to be tricky indeed - I found an article on the web about a technique for using bondo station bucks for forming sheet metal. The picture on the left below shows the template I made by covering the area with foil and applying several layers of bondo. The one on the right shows the raw template.
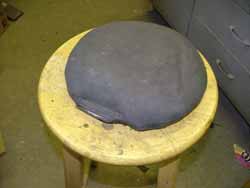
I needed a panel beater bag ( leather bag full of sand) to help stretch the pieces, so I sewed one up from some scrap upholstery material. Using the bondo template and some chipboard, I cut and formed some test pieces prior to attempting the final parts.
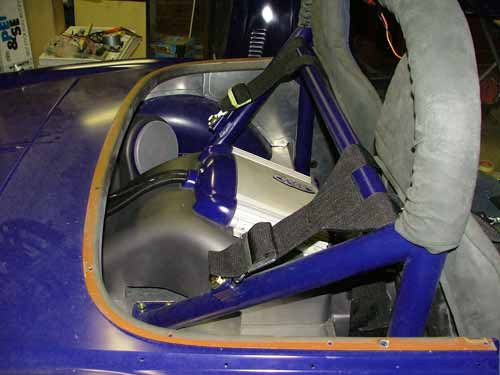
Passenger side foot well. I'll probably add some self-adhesive strips of anti-skid (black sandpaper type) stair tread at heel contact areas.
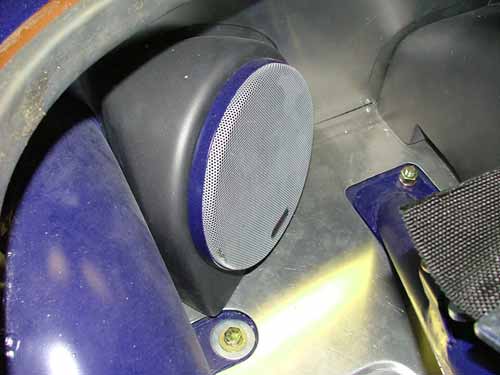
Painted up the console, sub-box, and rear speaker enclosures in a charcoal that works with the seats.
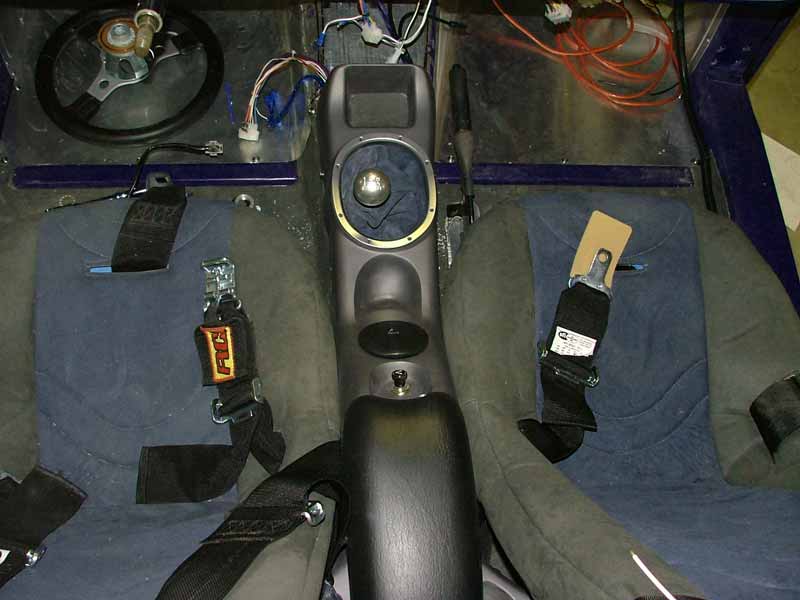
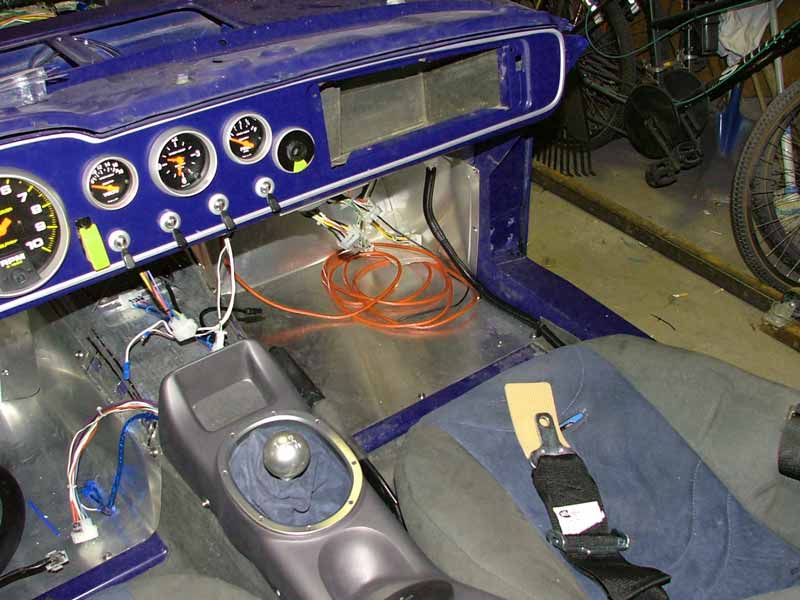
The fiberglass console was treated to an ultra-suede shift boot, Bullitt Mustang shift knob and bezel.
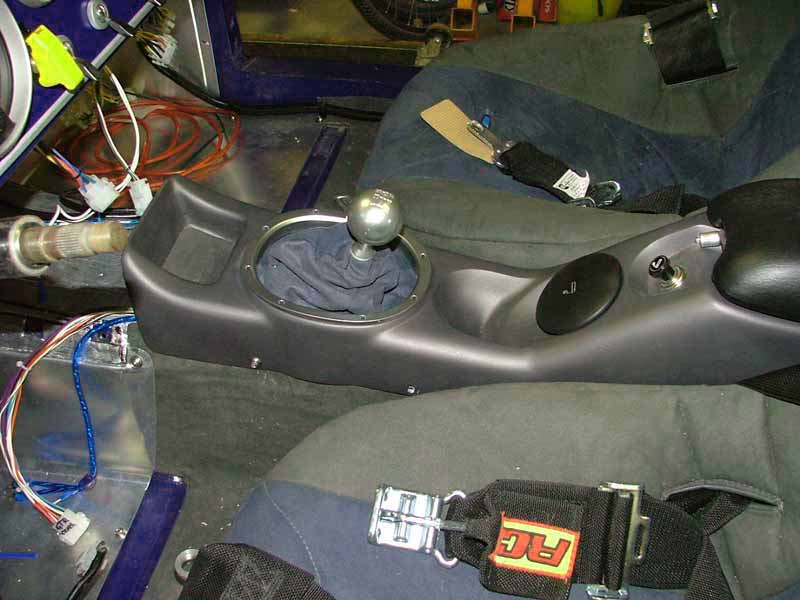
A limit switch was mounted under the ashtray, controlling a blue LED to illuminate it and/or the console.
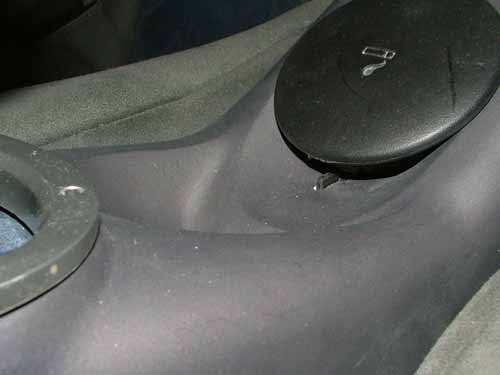
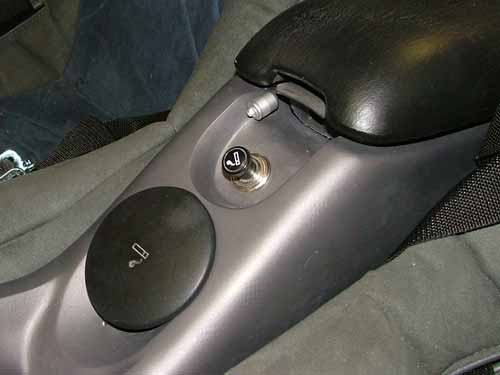
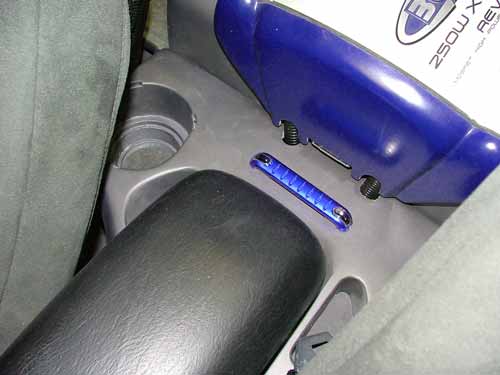
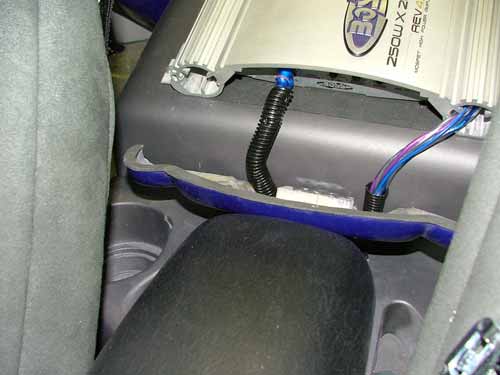
Hidden under the ashtray, and accessible with it removed, is a radar proximity sensor for the alarm system. It is a dual zone sensor that will warn on approach, and sound the alarm if someone reaches in. An LED scanner was added to top of the console rearward of the lid / armrest. The blue door is hinged ( spring loaded shut) to allow access to the amp controls.
The roll bar pad took several beers to make - lots and LOTS of 1/8" eyelets to be set...its laced on, and splits at the center for the LED strip third brake light. Still have to fab the mount for the fire extinguisher which will hang from the crossbar ( I think - still not quite sure I like it there.)
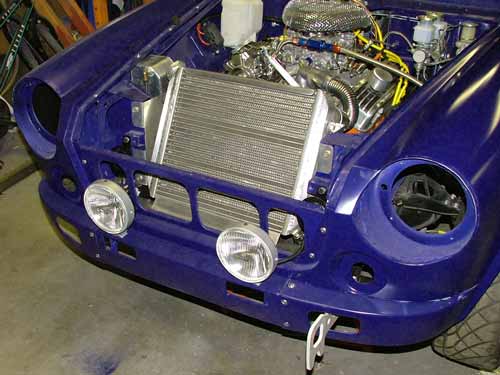
Up front I'm using new hi-low horns from a Toyota 4-Runner donated by my dad when he put air horns on his new truck. I first bought a set of Hella 500 driving lights, but thought they were too large - then I found these quality CATZ SR gold iridium lens lights cheap ($40 NIB) on Ebay - they're about an inch smaller in diameter, and seem to be a perfect fit.

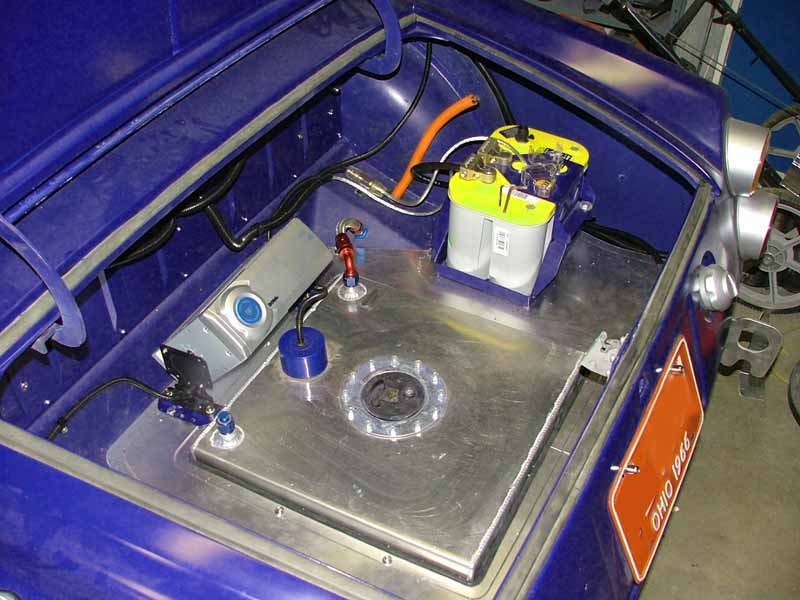
Then on to trunk, first completing the wiring for the back half of the car - tail and turn, fuel pump & sender, backup light. With that done, started in on the finishing panels - beaded aluminum to match the interior.
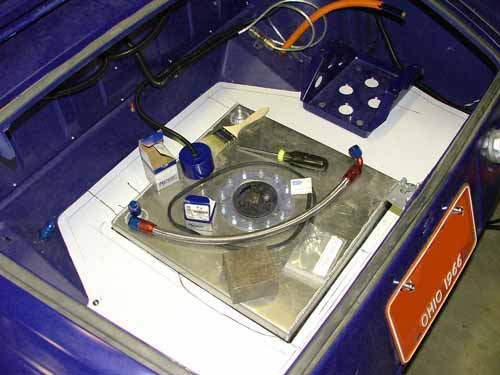
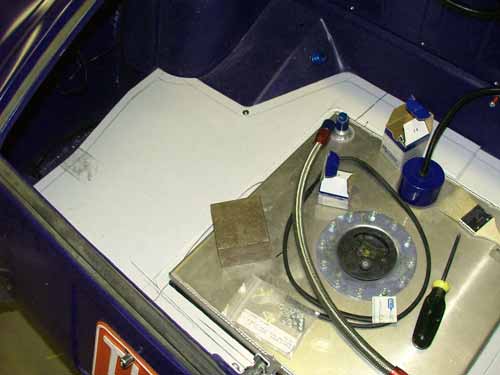
Optima battery, cell with vent, and 10 CD changer. Blue cylinder in center covers fuel sender. Trunk release has a solenoid, wired into the alarm so Its operable from the alarm remote. Still room enough for a bag or two for an overnighter with the Mrs.......no spare, but that's what AAA and cell phones are for.
Last thing to complete, besides bleeding system, filling with fluids, installing trim, windshield.........lots yet to do, but wiring has to be done before I can fire it up.
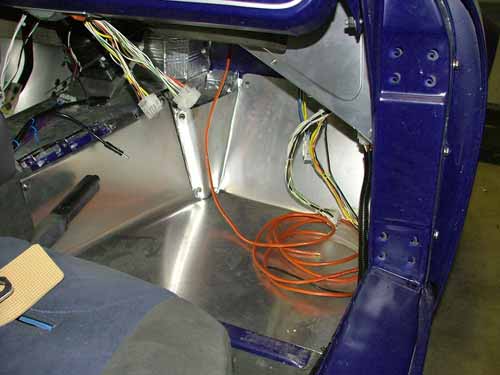
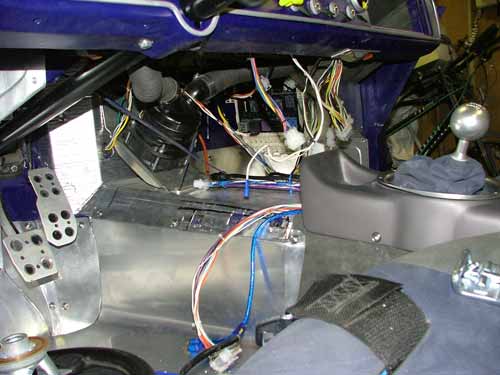
Main feed is tapped off the battery lug on the starter - 8 ga. runs up to a 100amp Mega-fuse mounted on the passenger inner fender. This runs through the firewall to the master switch on the dash. Switched and constant feeds run from there to the fuse / relay panel mounted on the passenger side foot well sidewall.
From the fuse / relay panel, harnesses run off in different directions - rear along the inside rail, two to the dash, one under the center console along with audio wiring, two to the front. Each harness meets the main panel with AMP Mate-n-lok connectors.
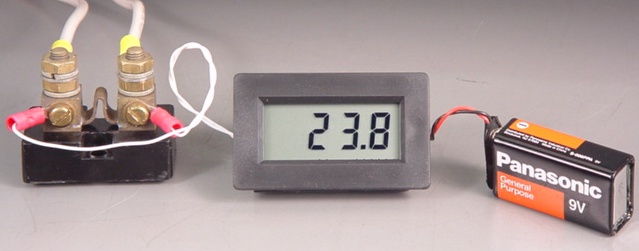
Lots of spaghetti...but all color coded and mapped in a master diagram. Minimum of 16ga. for low current circuits, up to a max of 8 ga. wire was used - basically overkill on everything but I've got too much time and sweat invested to have it smoke. Once I have it all wired up, I'll use the 0-200 amp ammeter/ shunt resistor I picked up on Ebay to test the draw of each fused circuit to determine fuse rating.
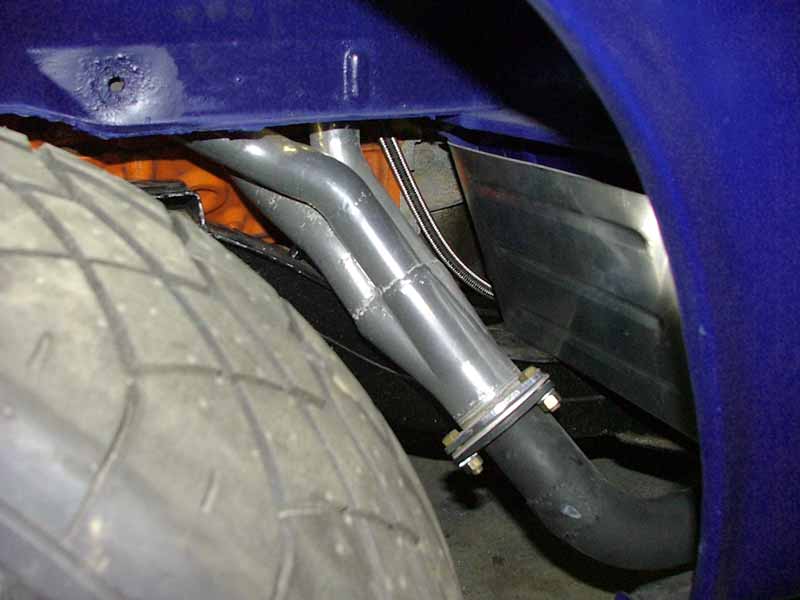
Also was concerned about the proximity of the exhaust to the underside of the foot wells, from a comfort standpoint, so I fabbed up a couple of beaded heat shields that create an air gap to keep the tootsies cool.
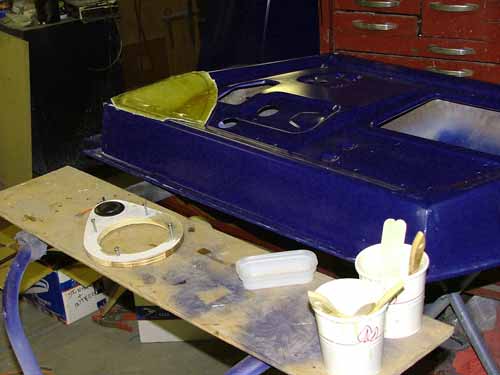
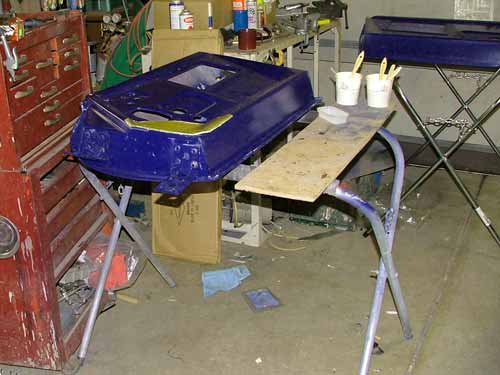
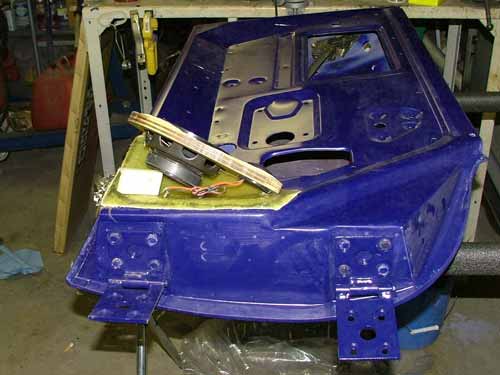
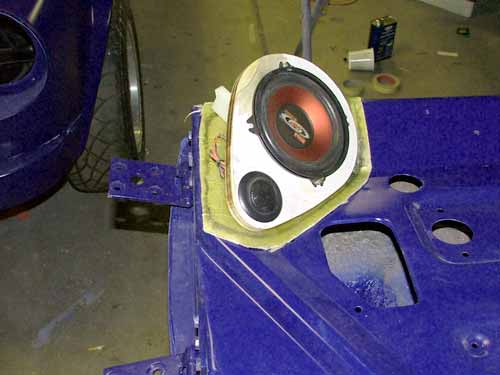
Last item for this update - I decided it would be much easier to make the fiberglass base plates for the door speaker pods with the doors sitting flat, rather than having resin running and dripping all over if I did them after the doors were mounted. I forgot to take pics with the aluminum foil and masking paper in place, so you'll have to use your imagination. After covering the door with foil and tape, I did the lay-ups and cut them to approximate shape while still slightly soft. After the doors are mounted, I'll attach the MDF speaker rings to the back plates with bendable metal strapping, position them for optimum sound, then fleece wrap and resin. Lots of good article on the web for this kind of construction.
Final trim and positioning will wait till doors and weatherstrip are installed.
Well, that's it for now, hoping to have it breathing in a couple of weeks.....