Blue, blue, blue suede shoes.....or the "R" gets shot!
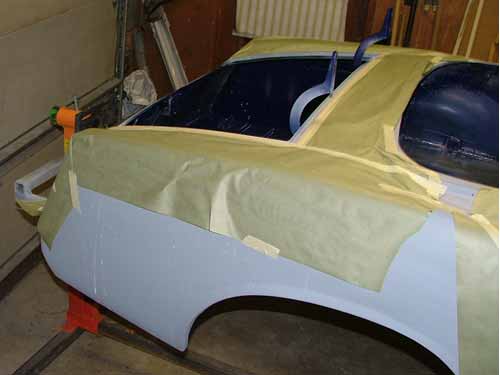
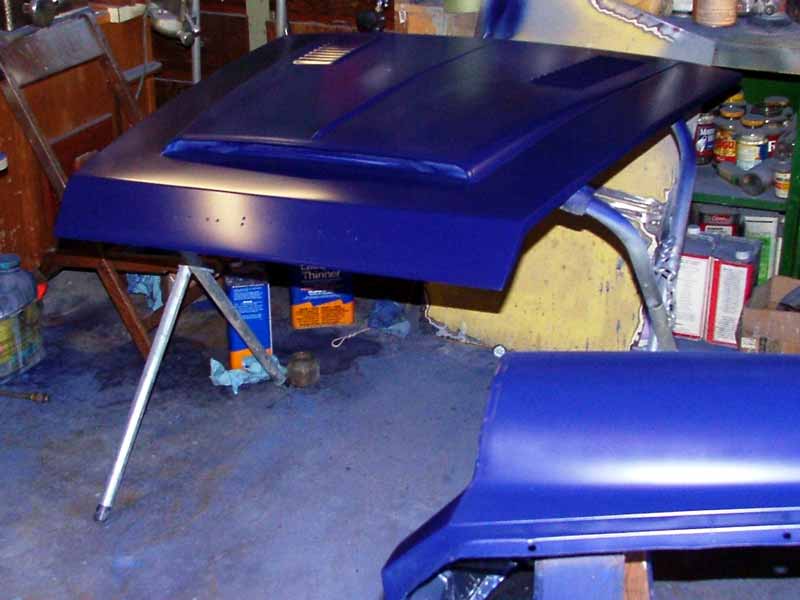
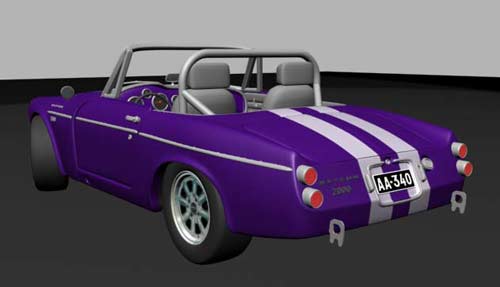
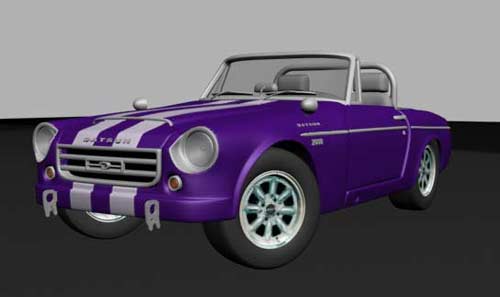
Let me start off by saying that for whatever reason, the Finepix S5000 I use to shoot with refuses to capture the purplish blue color we chose for the "R". I've tried to color correct the pictures, but not much success. I'll probably have to resort to film then scan for images of the finished product this spring......
My first experience with the HVLP gun was a pain - I have lots of experience with conventional high pressure guns. I have three of those, a Binks, a DeVilbiss, and a Sharpe. But this HVLP was a new animal to me, and I had problems with getting the atomization fine enough. I shot the interior, trunk, and engine compartment once, only to plagued with runs and sags. So I wet-sanded and scuffed the first coat, and then played with the gun and practiced some more by painting the underside and several yards of paper. Finally got a handle on the gun settings, spray distances, and speed. My advice to anyone switching from a conventional gun to a HVLP is to buy an extra quart of paint to experiment with until you get a feel for the gun.
Primer was all wet-sanded, floor vacuumed and mopped, so it was time for wipe down and masking. At this point, I was still planning on shooting the whole, assembled car, so accordingly I had to do the interior, engine compartment, trunk, and jambs.
First washed down everything with Prepsol saturated, lint-free towels, then wiped dry with clean towels to pick up the contaminates suspended in the solvent. Then double taped - tape edges first, the tape masking paper to the first tape. I feel this gives better edge control when running the first tape, since you're not fighting the paper.

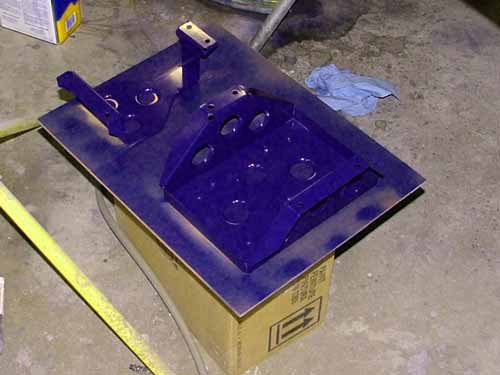
All the jamb areas were masked to prevent overspray. Then another wipe-down with Prepsol. The other parts included in this spray session - dash, console, battery hold-down, speaker rings, and fiberglass amp covers.
Then it was time to suit-up - I used a urethane catalyst in the acrylic enamel, so that meant a supplied air respirator, full coveralls, and nitrile rubber gloves. Mixed up the paint while waiting for the Prepsol to fully evaporate, then wiped down all the parts with a tack-rag. Had the furnace running all day, and right before shooting I shut it and its pliot light off. I have a small spray booth on one side of the garage, so I attached filters to the opposite side window and turn on the booth. I've done this lots of times when shooting parts to big for the booth with a conventional gun, and did it when shooting the engine compartment and underside the first time. It does a great job of removing the minimal airborne paint spray / dust given off by the HVLP gun.
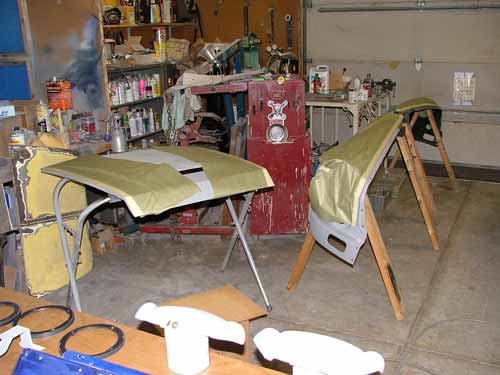
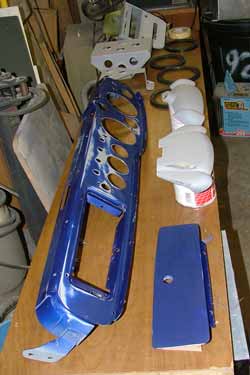
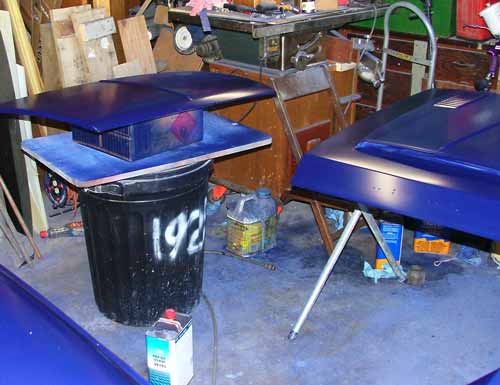
Here are shots of the parts "jambed-out". On the right below is a custom fabricated steel Optima battery box.
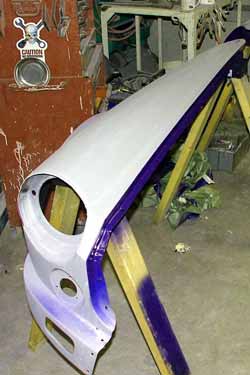
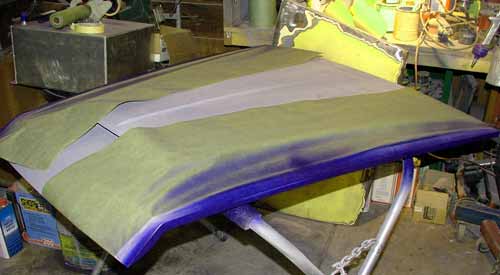
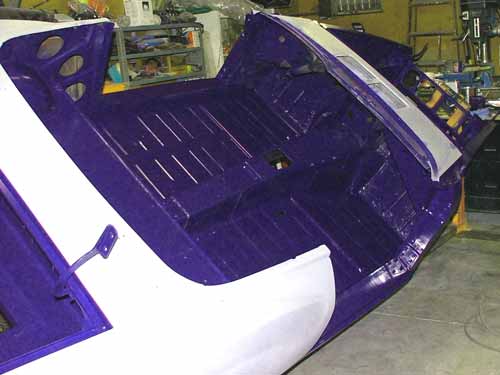
I messed around in Photoshop with these two of the tub, to see if I could a better representation of the color - close, but a tad dark.
Everything came out great this time, and the paint mix proportions were exactly what I had in mind. I had done some test mixes and sprays to determine the level of gloss I wanted. Once I had the percentages of reducer, activator, paint, and flattener I was happy with, I put together an Excel spreadsheet to do the math for various batch sizes of paint. I printed it out and kept on the mixing table to save time when mixing.
While the jambs were curing for a few days, I wrestled with the idea of reassembling the panels and shooting the whole car versus shooting the panels separate. Discussed it with several friends, as well with gene, the owner of a local restoration shop, the Red Lacquer Room ( who loaned me his supplied-air system), and they all said they thought shooting it separate should be just fine.
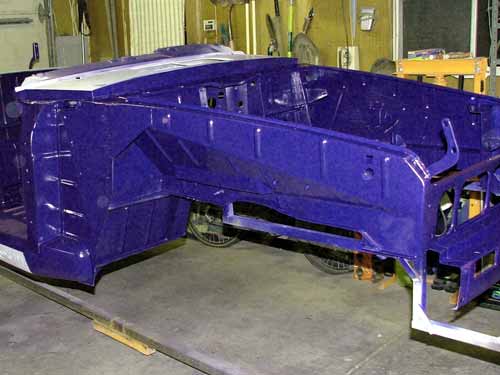
So I decided to panel it, shooting the fenders, hood, deck lid, and doors separate from the tub. Mainly what made up my mind was the paint, non-metallic, eggshell gloss. If it had been a metallic, it would HAVE to be sprayed complete to ensure spray pattern match up.
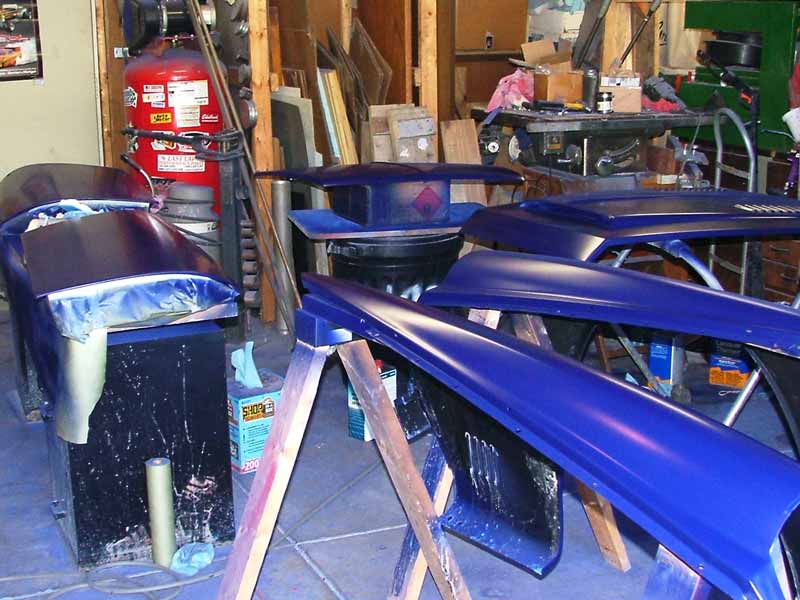

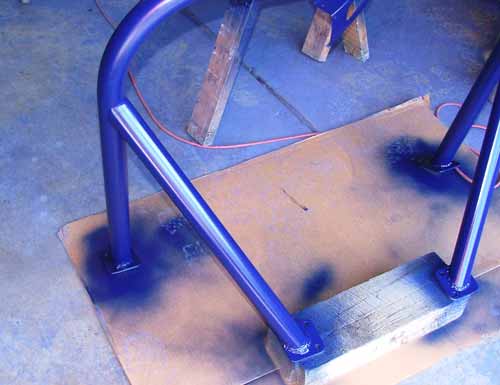
So the parts, shop, and myself were prepped and masked again, and 6-1/2 hours later the paint was sprayed. Actually, when I realized the last cup full of already activated paint was the last of what I had, I switched gears, went out in the drive, pulled out the roll-bar, sandblasted it, and dragged it in so it could get shot as well.
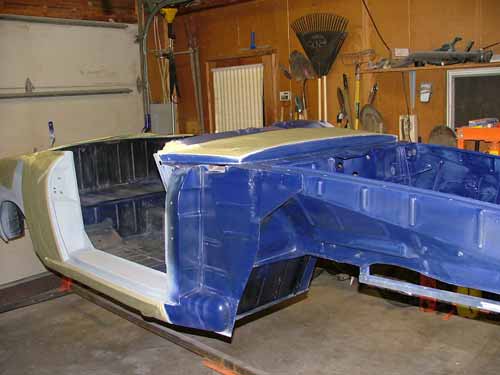
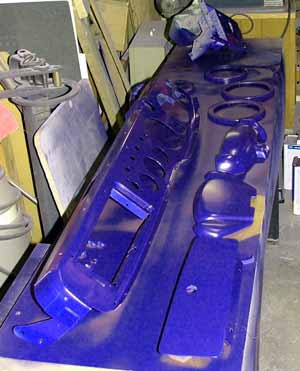
The tub came out superb ( said while patting myself on the back...) with only a couple of dust nibs. Since the paint is suede, there's no sanding them out, since I won't be polishing it. I like the look a lot - was going for the "barn find" image, and the few guys who've seem it so far have commented positively. However, if in the future I decide that I'd rather have gloss, it can be wet-sanded up to 1500 and cleared. That's the main reason I used an urethane activator in the mix.
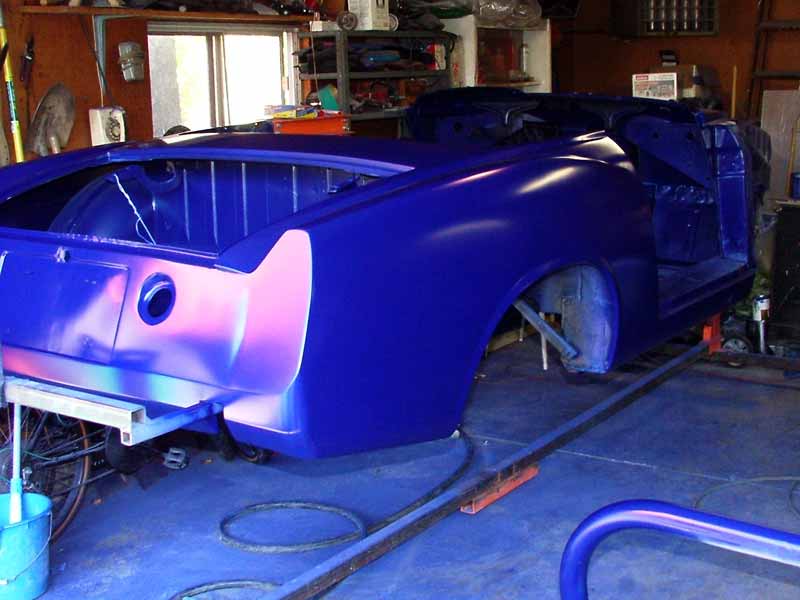
The pinkish glow in the above photo is actually a reflection of our Z in the drive. The color doesn't show up correctly in the digital shots.
We let the panels and tub sit for a week, then I undercoated the fenders and underside of the tub. The next day, my wife Valerie gave me a hand bolting on the fenders, hood, and deck lid. All new stainless fasteners.

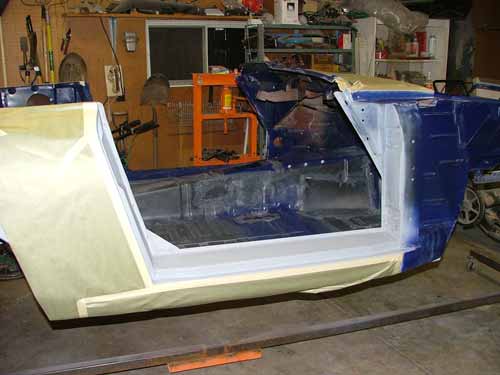
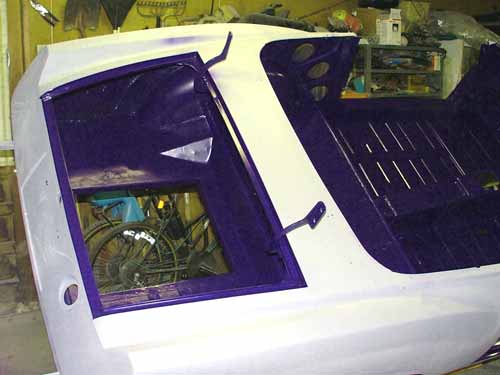
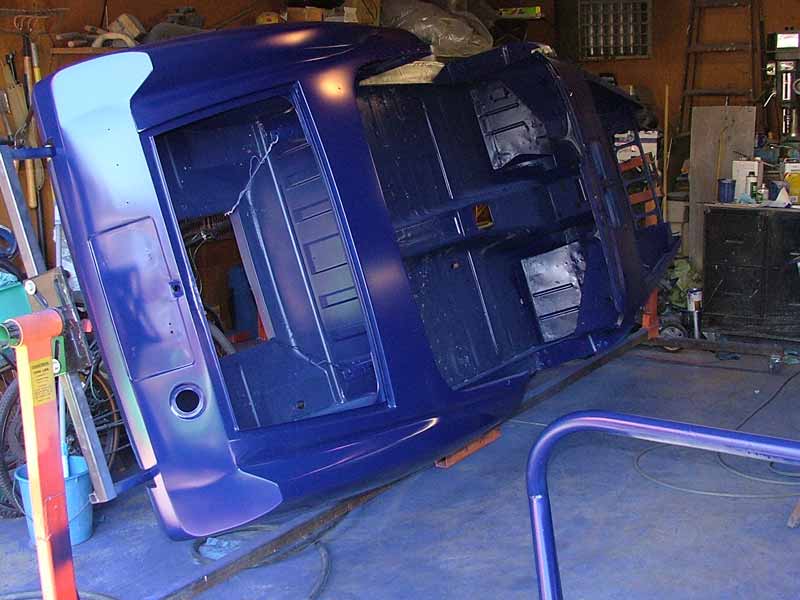
The fine blue dust on the floor in this and most of the other pics is overspray - too anxious to assemble some parts to push the broom and mop around!
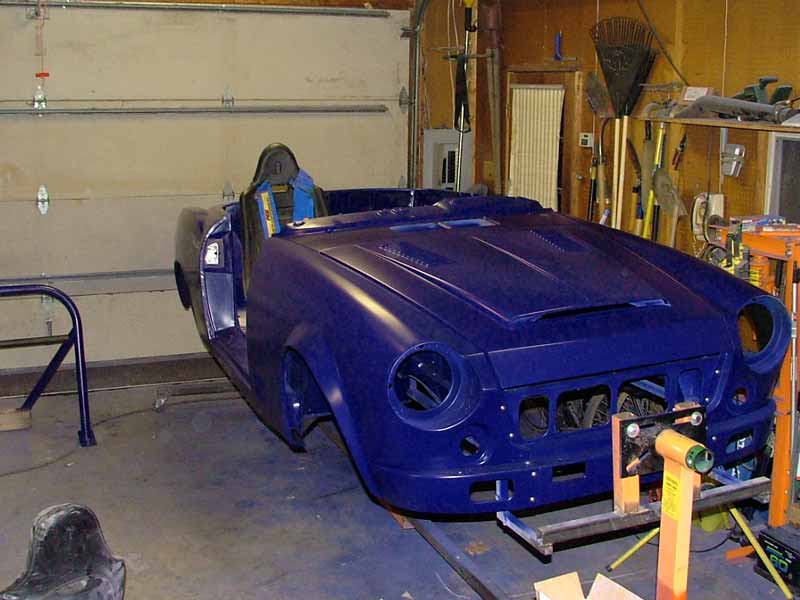
Did I mention my high dollar digital can't be persuaded to capture the color correctly? The seat is temporarily bolted in, as was the roll bar, to determine size and position of the cross-bar and anchor locations for the 5-points. I'll have to sand off the paint in the weld areas, but at least I didn't waste several ounces of already activated paint......
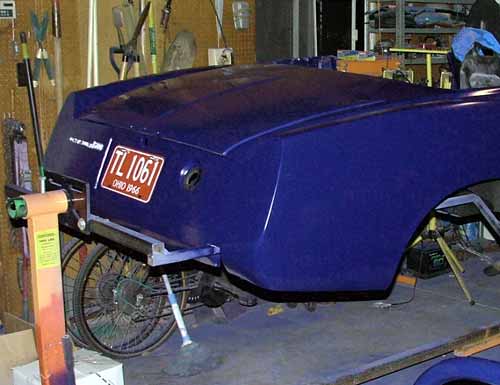
For the tail-end, I've got a genuine, original 1966 Ohio license plate - the finish on it is a satin almost identical to the car! I'm in the process of making a silicone mold off a locking gas cap, with the intent of casting a glass-microsphere filled urethane dummy cap to fill the hole. The actual filler is in the center of the fuel cell, inside the trunk. If it turns out OK, I'll offer unfinished casts from the mold to the list.
Next up will be AL interior panels, sound deadening, and wiring - stay tuned.........update will probably be after the holidays. So gobble, gobble, and HO, HO, HO!!!