
Radiator Mount, "Puke"-Tank, and Fuel Cell Trunk Box
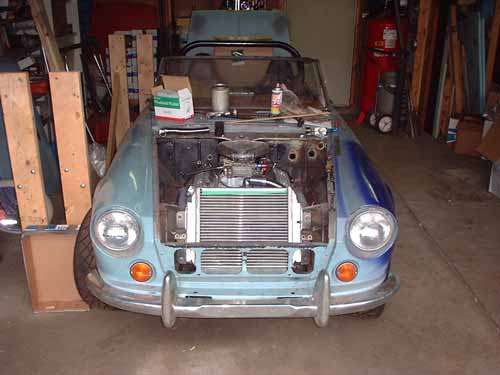
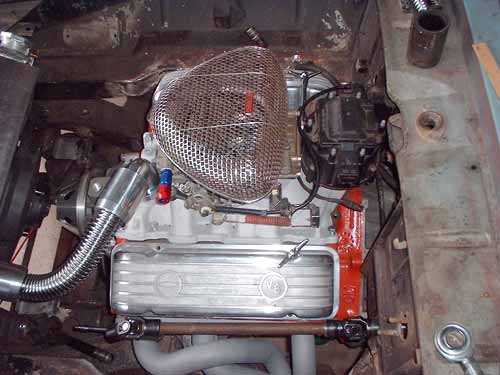
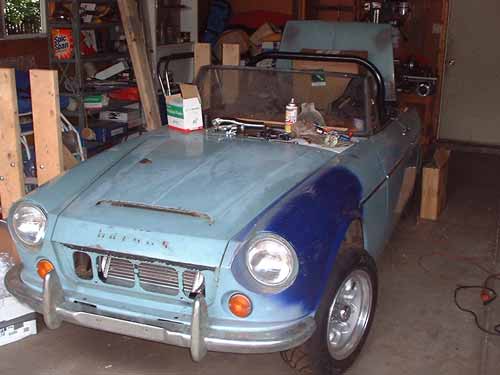
For the radiator, my original thinking was to use an engine driven fan, with the aluminum radiator ( purchased with the car) sitting in an upright position. Because of the steering box, the rad would have had to sit offset in the engine bay. after mocking it up using some wooden braces, I decided it was too weird.....
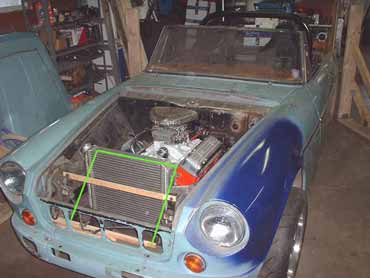
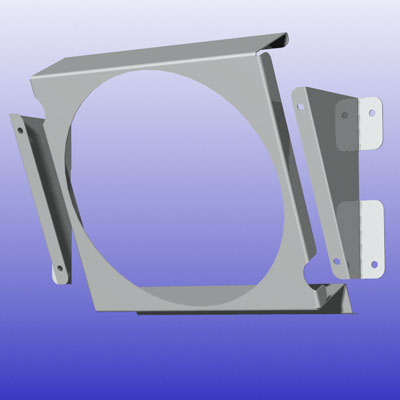
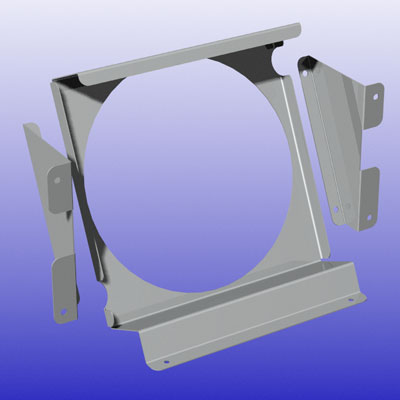
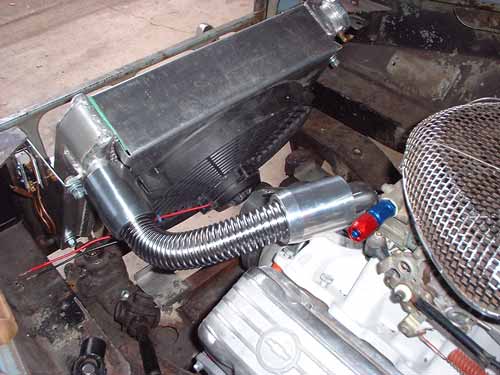
Then an idea struck - why not angle the rad back and use an electric fan?
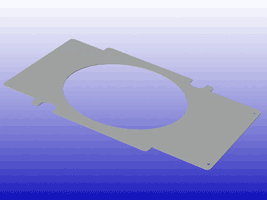
So, it began with mocking up the bracket in chipboard (unfortunately, I was so involved working that I didn't take any pictures), then on to a CAD package to model the sheet-metal parts to generate the flat layouts.
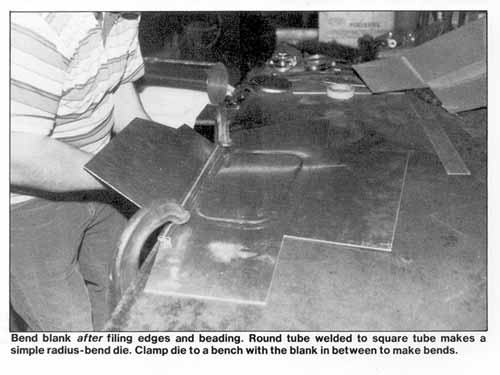
Then the parts had to be formed, using a combination of a small sheet-metal brake, and a "custom" bending die made from a piece of round bar stock welded to a piece of square tubing. This arrangement is C-clamped to the bench, over the top of the panel to be bent. ( Picture compliments of Ron Fournier's "Metal Fabricator's Handbook")

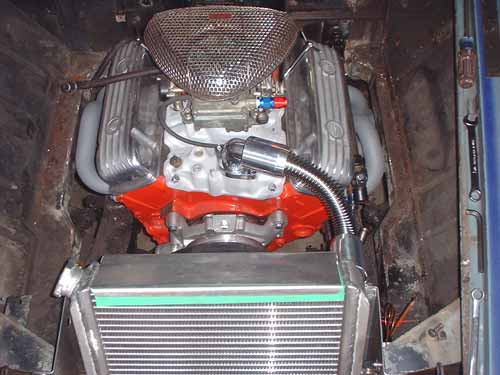
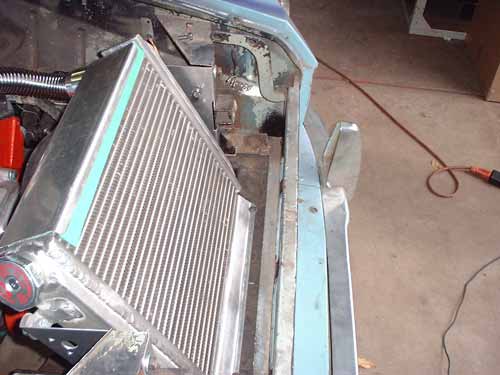
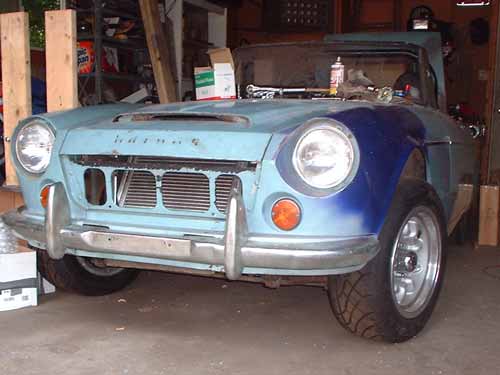
The angled rad worked out GREAT - everything fits, is nicely centered, very strong, and looks way BAD!

I had the green closed-cell foam laying around - it will be replaced with orange or black.
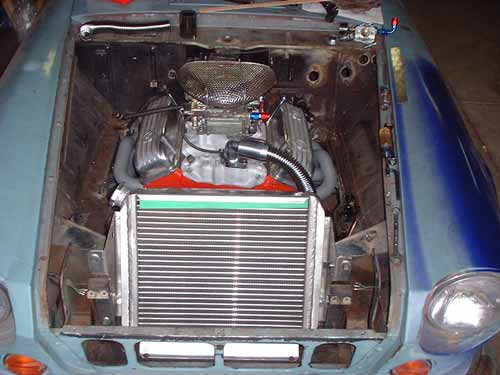
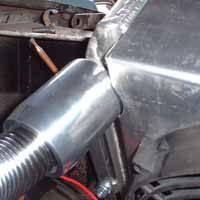
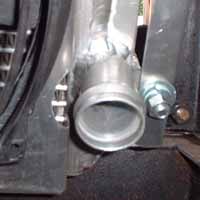
Stainless steel hoses and swivel neck were bought on Ebay. Used a swivel neck to be able to get a smooth transition for the hose. Lower hose will be tight - may not be able to get the SS to bend tight enough, so may have to use corrugated rubber.
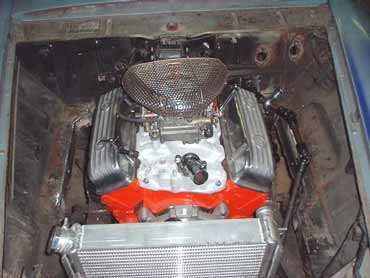
I'll be removing the brackets I made for the vertical position rad ( visible in the picture below left, just under the rad hose). Clearance between the fan and water pump pulley is adequate - barely.
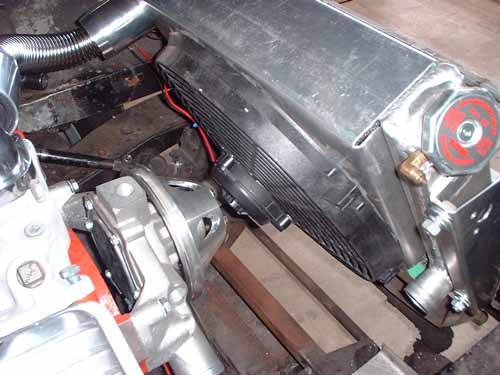
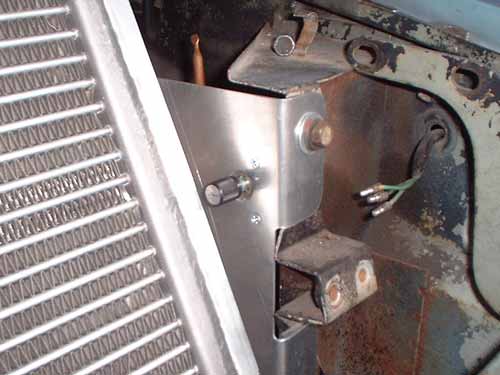
Flange at bottom of shroud picks up two existing threaded holes in frame.
Had to add cut-outs in the shroud for hose clearance. Doesn't affect performance - hooked up a battery to the fan, and boy does it suck........
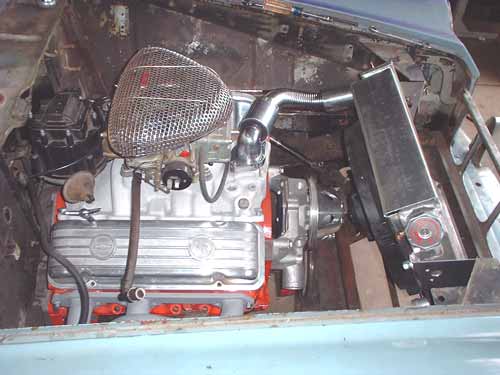
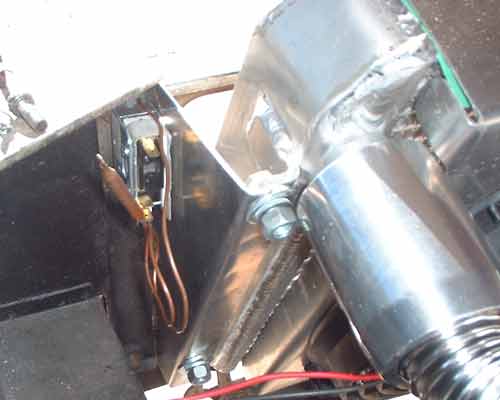
Mounted the thermostatic fan control through the driver side radiator brace, positioned for easy access, and to allow the temperature probe to be routed into the upper rad outlet. Retained the stock horn mounting locations.
And yes, the hood closes with room to spare...
I shopped and shopped for a radiator catch can / "puke"-tank, and haven't been able to find one that will both fit and look appropriate, so I decided a custom tank would be the way to go. I called a local rad shop and asked them the cost to TIG weld a custom tank if I fabricated the parts, and they provided the welding, threaded bungs, and petcock. They said $30-50 depending on complexity and time. I'll be stopping by there Monday with the parts - we'll see what the cost really is....
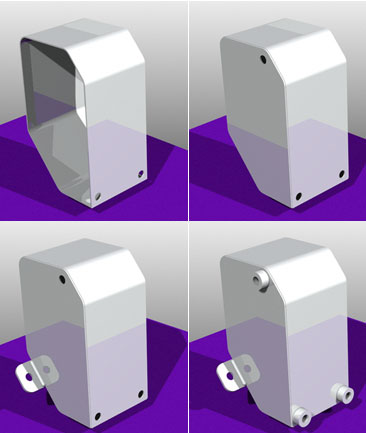
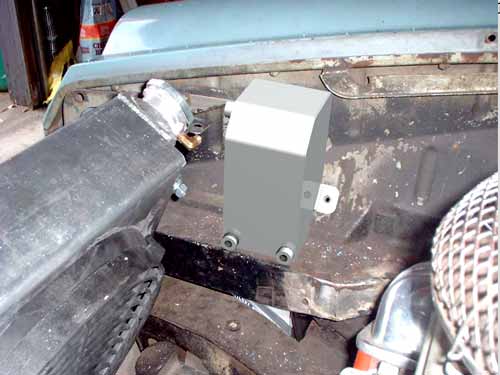
A couple of composite images to show where the tank will go.
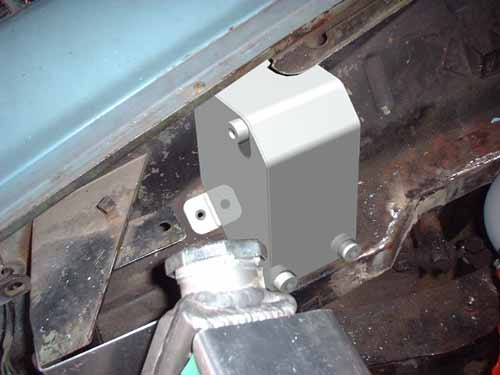
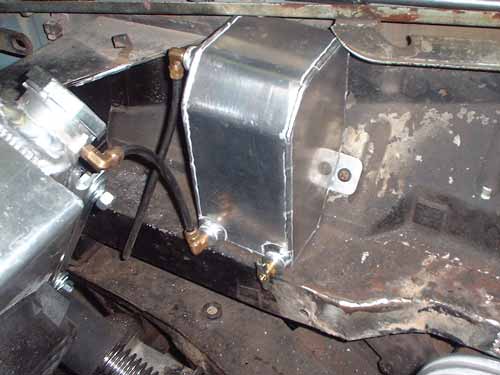
Well, I picked up the tank the other day - ended costing $40 - cheaper than the off-the-shelf ones, and it looks like it was made for the "R" - actually, it WAS!!!

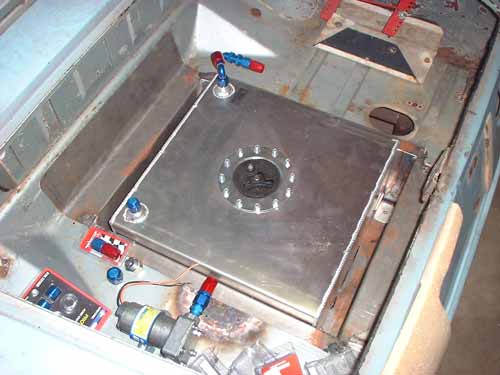
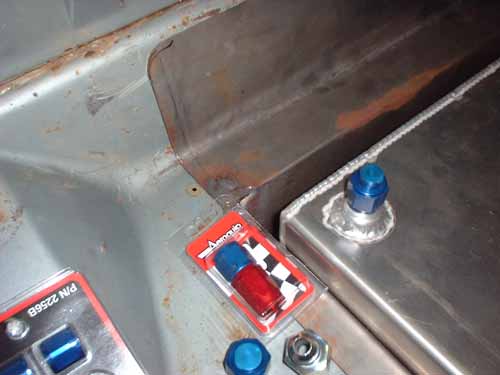
And I got a chance to finish up the sheet-metal fuel cell box that fits into the opening in the trunk - it will be screwed into place after the body is done, and dropped down on the frame. The bend shown in the lower right image was done in place with a corking tool. I'm also planning an aluminum sheet floor panel that will drop in over the cell to give the trunk a finished look.