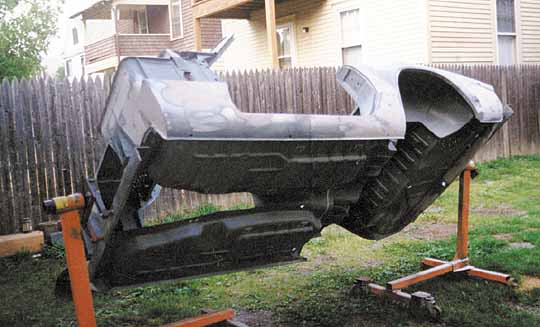
Rotisserie - or tub on a spit
I've found several web pages talking about body rotisseries made from engine stands - some looking very professional, and some looking VERY suspect in their stability. An example of the latter....what NOT to do. No connection from front to rear, no bracing in the door openings, and on GRASS, sheesh!

Harbor Freight had a sale on their 1000 Lb. engine stand at $39 a piece, so those combined with $60 of box tubing from the local surplus yard combined to make a a custom spinner for the "R".
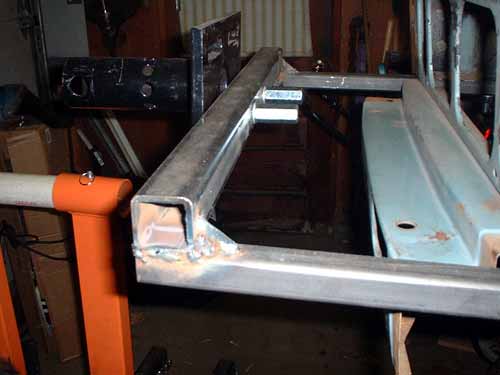
First, the stands needed to be lengthened by 9-3/4" to clear the body. The uprights were angled back, and I wanted them straight to make an axis through the car as well. So the uprights were cut, and a sections of rectangular tubing was cut to fit into the gap, overlapping the sides to stabilize the joints.
Since the tub only weighs about 400 pounds, I don't feel I'll need any angle braces on the upside down T's, which is good to make it easy to dis-assemble, but if it feel the least bit shaky when I lower the body, I'll add some.

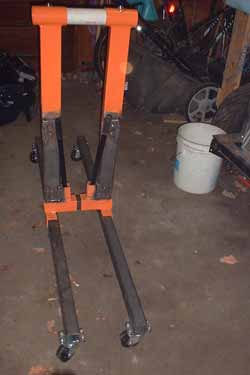
The bottoms of the uprights have a box section that is where the front leg of the engine stand bolts in - a short length of tube is in them in the above pics - these will be connected end to end by a 13 foot-something length of 2" square tube. The replacement cross tubes at the bottom are 5 feet long.
To be sure the body will stay stable, I made some braces for the door openings out of 3/4" DOM tubing.

At the front, a plate bolts to the hinge location, and to the strike holes at the rear.

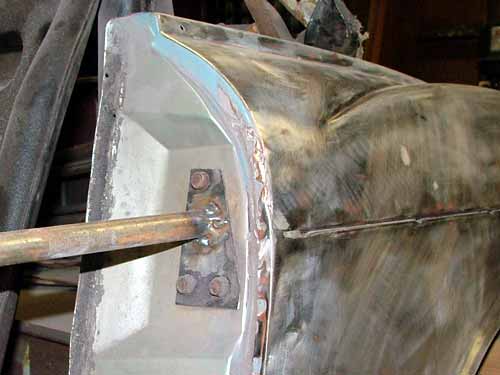
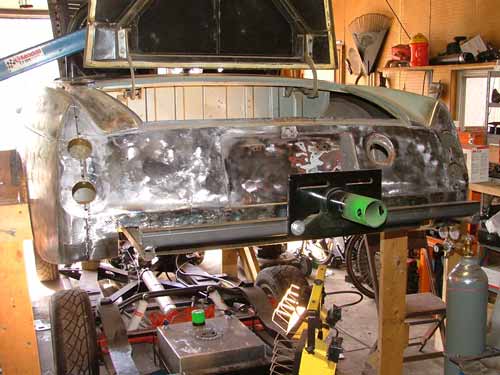
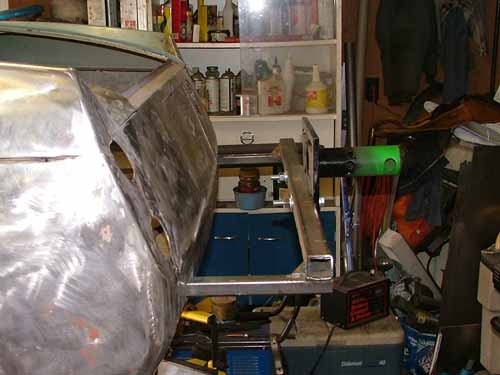
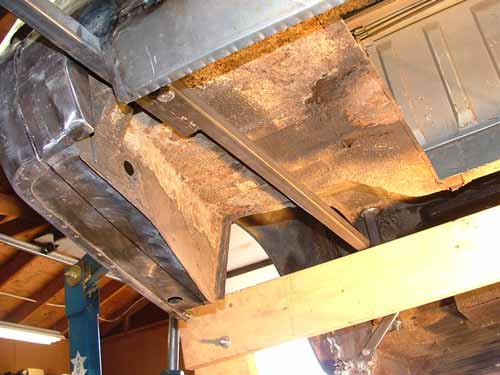
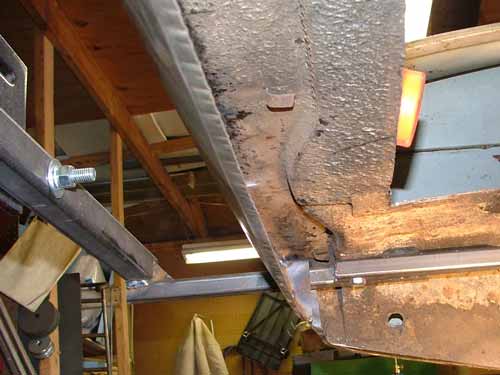
The body mounting frames are 1" x 1/8" wall square tube, while the cross bars are 1-1/2" x.150 wall square. At the front, the body frame bolts to the front body mounting holes and through the tubes inserted in the body rails. For a stock body tub, each tube would pick up two body mounting holes in the engine compartment. The cross bar bolts to the engine stand's mounting plate, which has index holes for locking at various angles. Gussets at the corners for added strength.
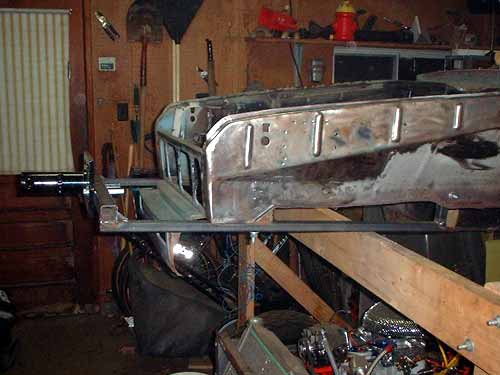

The rear body frame attaches at six body mounting holes, three per side.

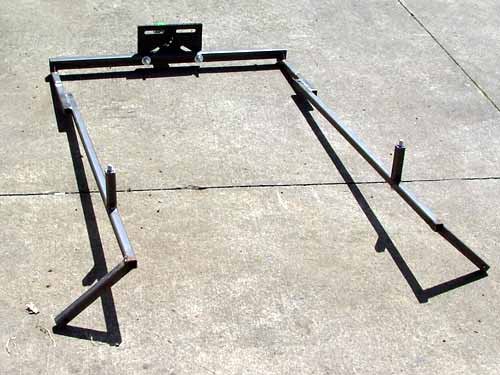
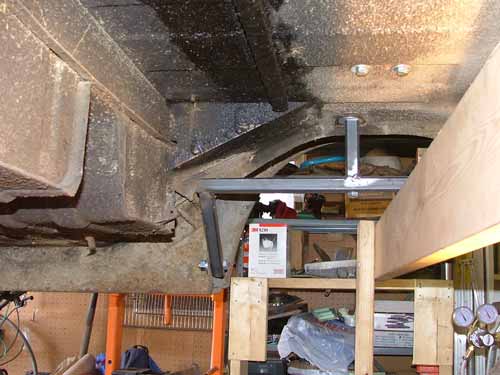
The offset was for my car, to fit the openings where the nerfs will extend - for a stock body tub the offset would be unnecessary. The angled legs were notched to fit the lengthwise tube, and bolt up to the holes at the front of the wheel arch.
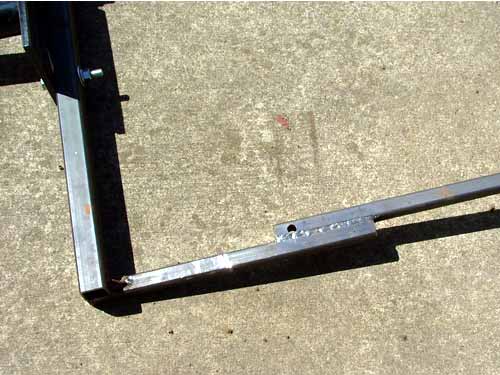
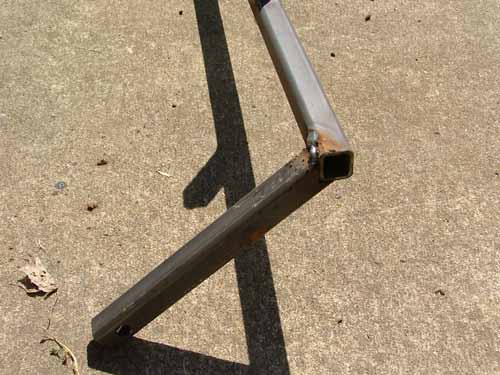
Here are some pics of the rear frame mounted. It picks up the holes in the trunk, the two at the rear of the parcel shelf, and the two at the front of the wheel arches. Both frames are far enough away from the body to allow body work on the panels.
As soon as I'm ready to mount the tub, I'll take pics of the entire assembly and add them to this page.