Slicin' -n- Dicein' - or make room for big daddy
Bigger engine & more HP mean more tire is needed. Won't fit the skinny wheel wells on the stock '66 1600. Options: flares, cut away the inner fender, or.....widen the whole quarter panel. Found this article on doing just that on a Mustang and it didn't look too bad. So I spent many a night, while trying to fall asleep, thinking about it.
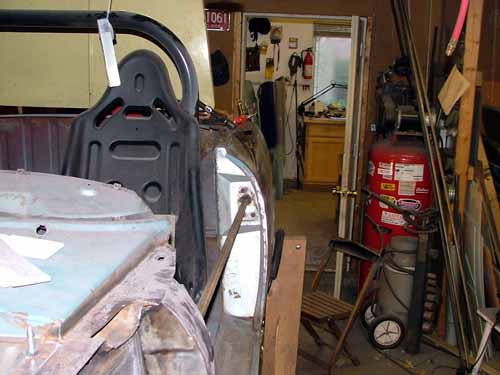
After much thought, and one evening earlier this week spent just walking around, looking under and over, this way and that, forming a mental step-by-step procedure, it was time to perform surgery.
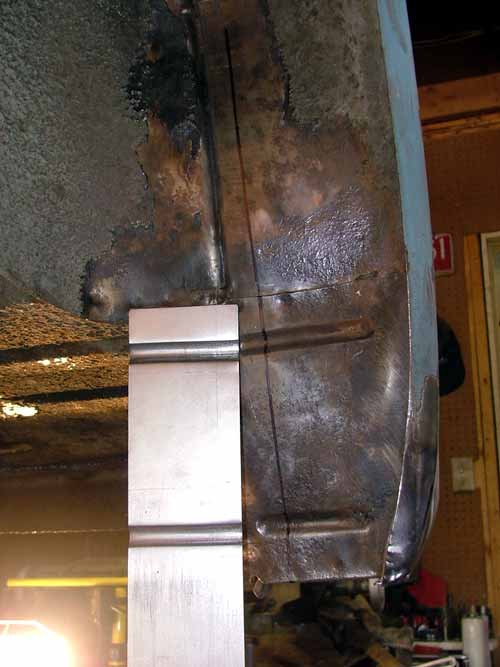
The patient had already been prepped, so it was time to do the mark-up. The first lines were the most important - wanted to leave enough of a bend on each side to keep the metal stable when it came time to weld in the strip along the top and around to the front.
Around the back, and under the quarter.
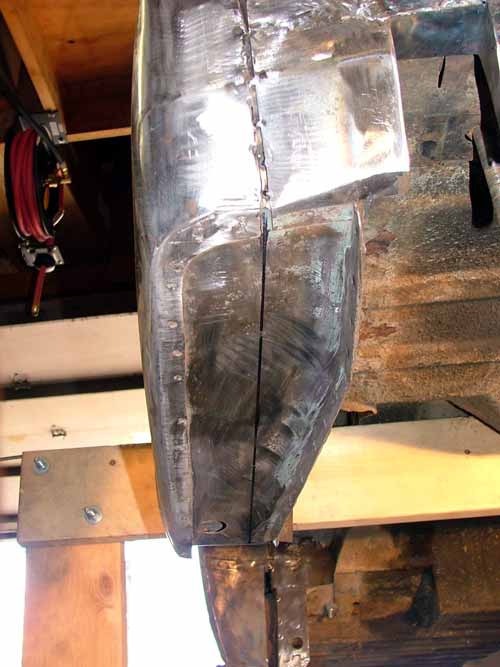
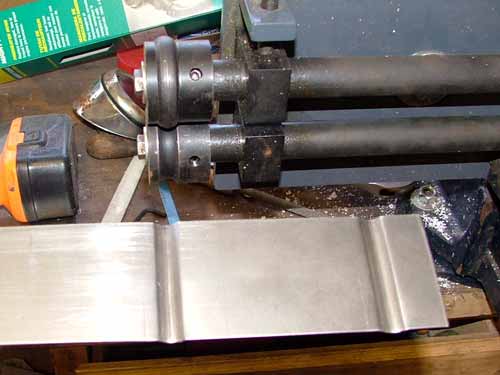
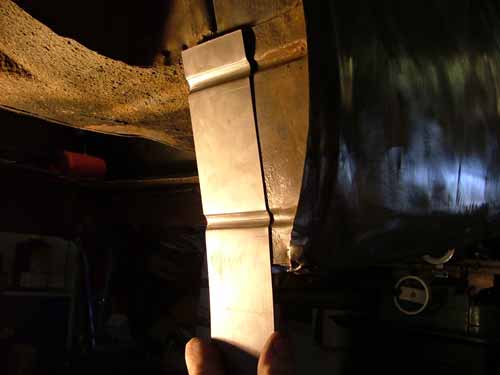
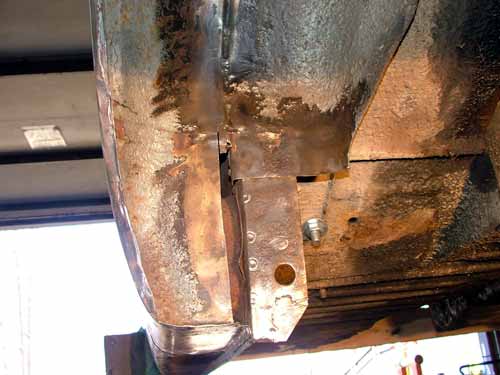
The back of the wheel arch would have the cut going through two reinforcing beads....
So it was off to the bead roller to make a filler piece with matching beads.
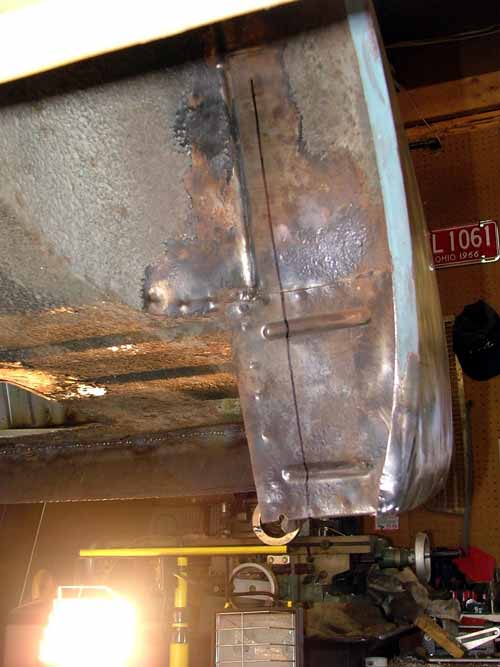
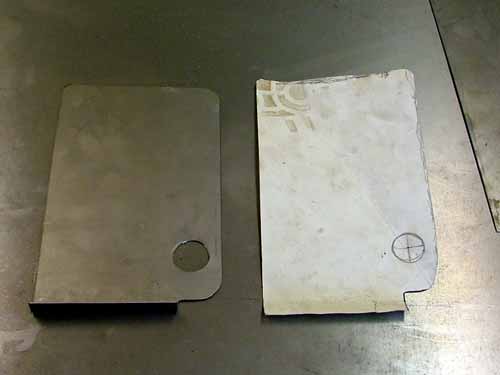
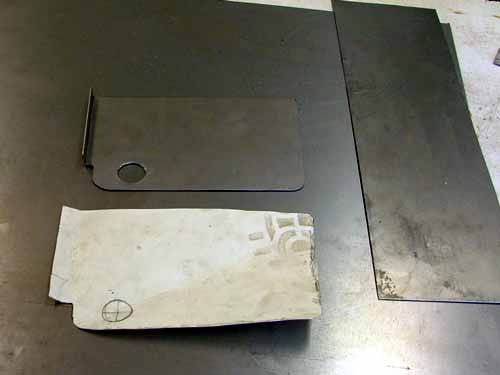
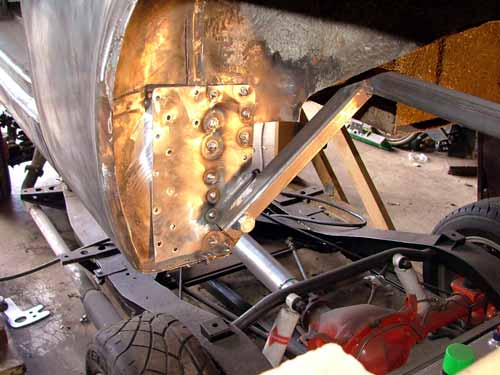
At the front of the arch is a body mounting hole, and the "R" had some cancer and road rash here, so it was determined that a transplant was in order. First a template was made and transformed into a fabbed metal part.
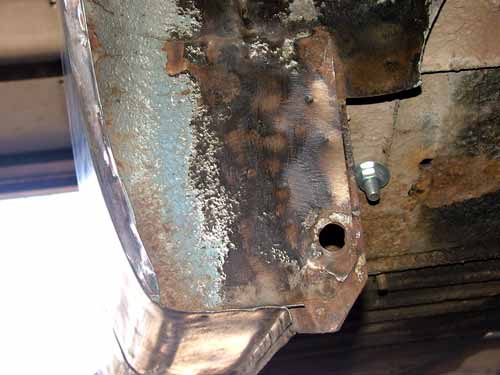
Then a spot-weld drill was used to remove the malignant area.
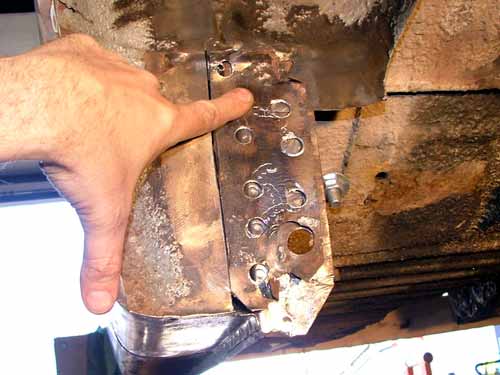
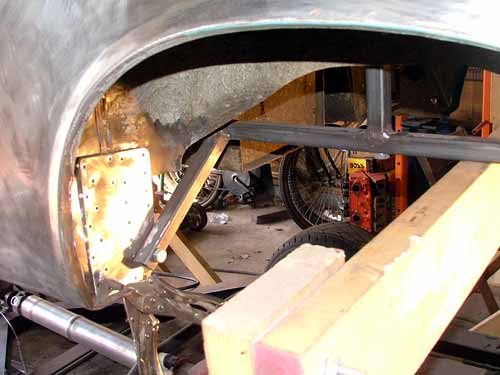
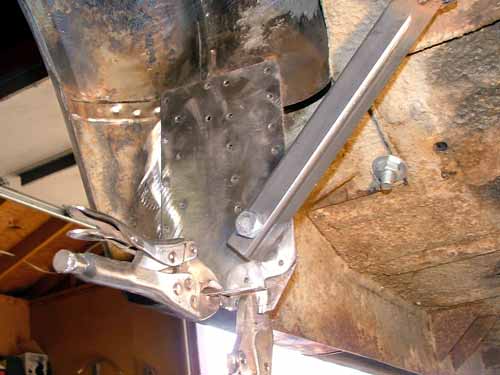
The new part was positioned and the rear rotisserie frame bolted up to keep the rest of the rear-end of the car stable during surgery. An additional piece was fabbed to act as a flange extension, plug-weld holes were drilled in both, and both were permanently grafted on to the inside of the wheel well. The other half will be welded once the quarter is cut and widened.
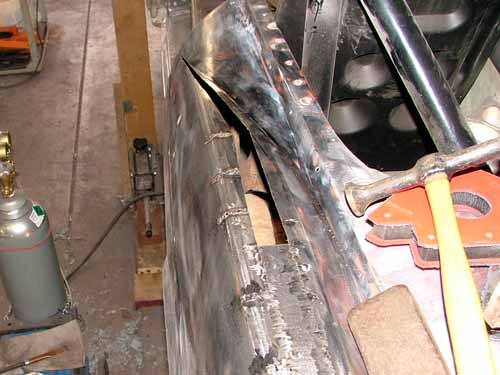
The patient was then anestheticized, and the cutting began. The surgeon was quite nervous...but the opening cuts were successful.
( I never wear hats, except when cutting, grinding, or welding - hate the smell of burning hair...also swear by Mechanix gloves. It just occured to me that this was the only picture with me in it, so I've included a small pic of me in business attire for reference ;-) )
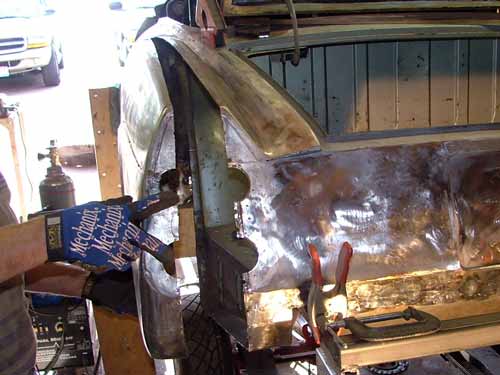

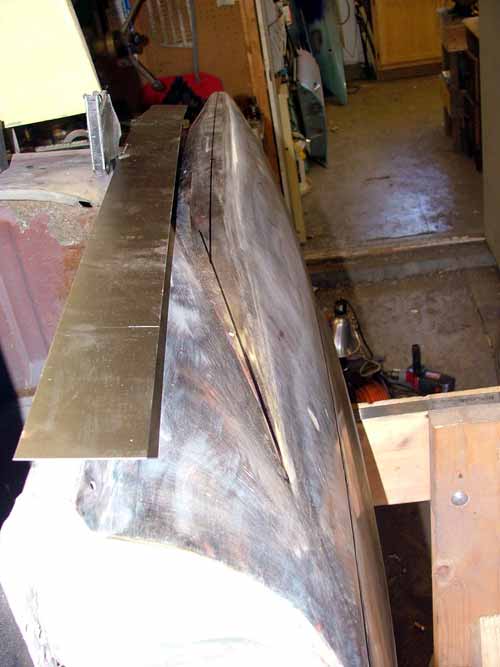
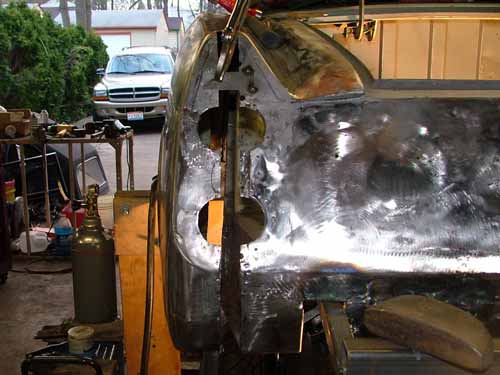
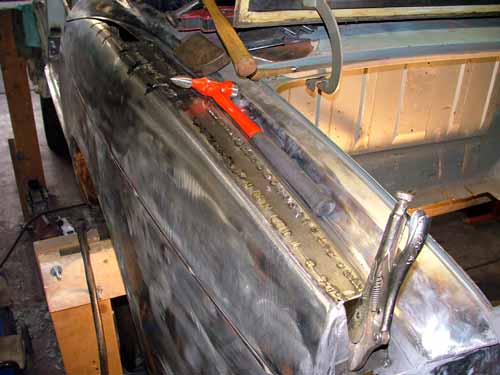
During the initial grafting of new skin, it became apparent that additional incisions were needed in order for the patient to retain its original smooth appearance - these were done in the form of small slits across the top surface of the quarter at its widest point, continuing around the small radius corners. The new skin was tacked in place with numerous small sutures.
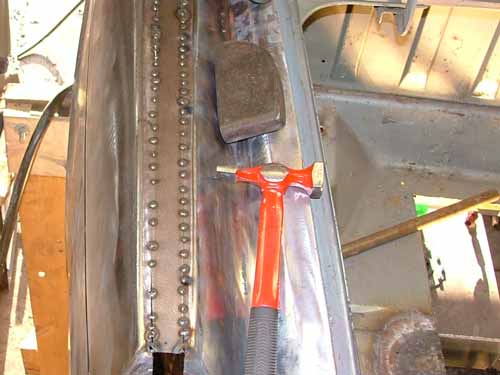
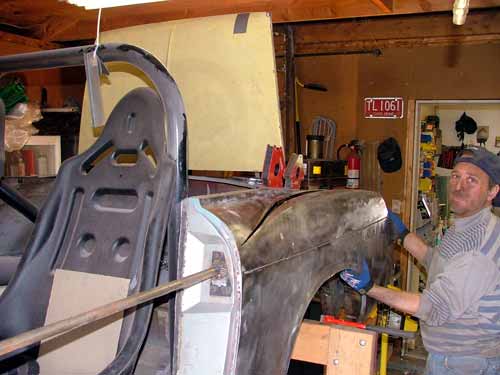
The first row of tacks were 2-3" apart, the skin then dollied to return it to level, Then a second row of tacks, placed in between the first were done, dollied, then more tacks, until the piece was tacked every 3/4 - 1". Doing the spaced tacks, then allowing the metal to cool and returning it shape prevents mojo distortion. Exactly matching the metal thickness of the joined pieces helps too - the quarter is .036" thick, 20 ga. by most standards, but its good to specify thickness when purchasing.
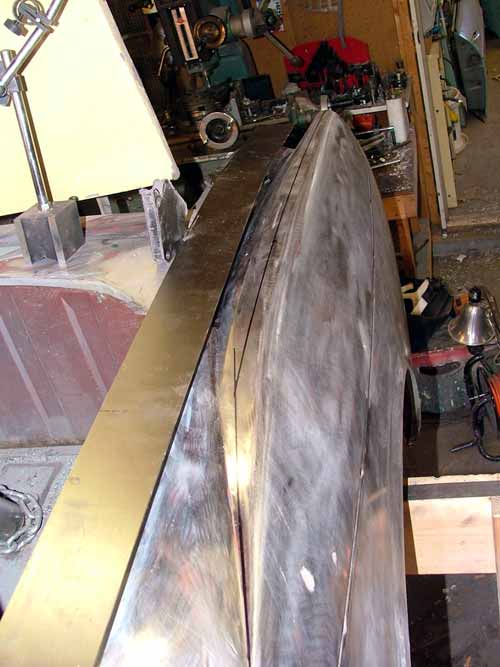
The rear corner was temporarily braced, as was the inside of the wheel arch to hold it at the desired amount of offset - 1-1/4" at the wheel arch, 1" at the rear. The wider tail end will look good with the larger taillights
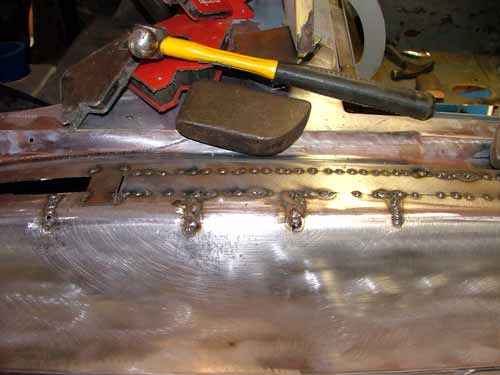
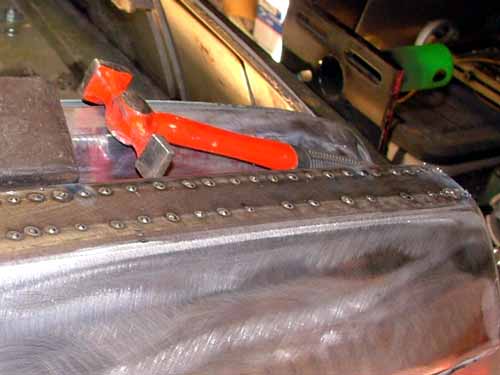
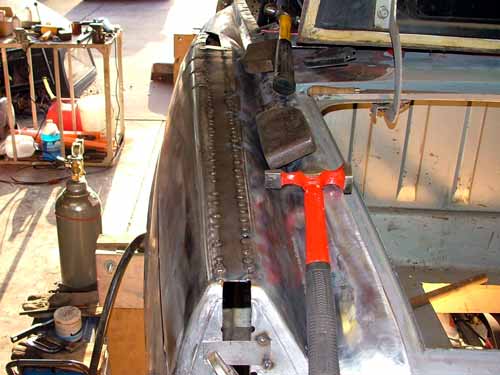
The tacks are then ground smooth using a cut-off wheel, instead of a grinding wheel, mounted on a 4-1/2" grinder which gives more precision and less heat build up.
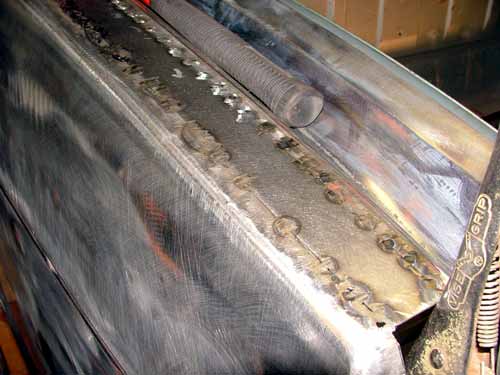
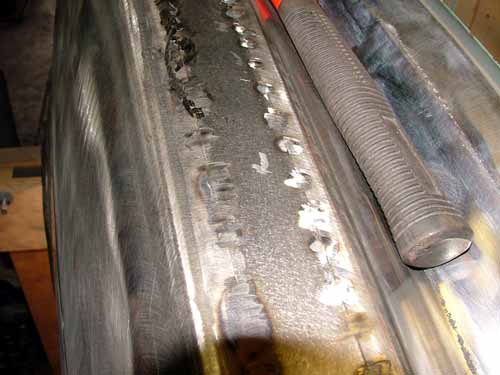
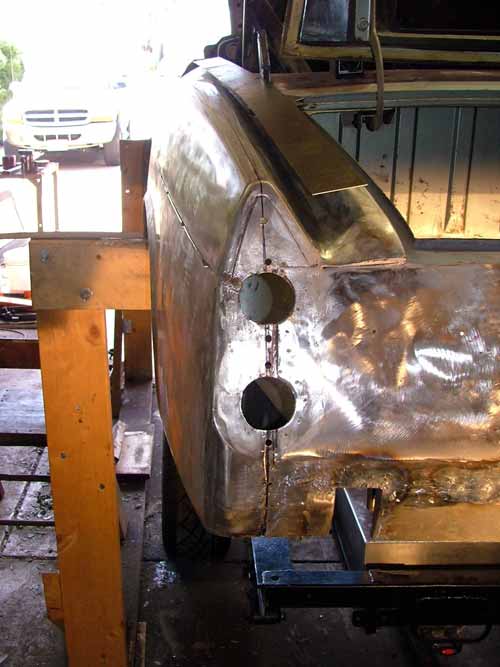
The seam will then be bead welded in 1" long sections between the tacks. These will be ground in the same manner, then the panels worked with hammer and dolly to get them back to smooth. After application of DP-90 epoxy primer, all that should be needed will be a skim coat of filler to smooth out the imperfections.
I've learned a bunch from reading Ron Fournier's books, and as much from both the Metalmeet and Metal Shapers web sites.
More to follow as reconstructive surgery continues.....hopefully next updates will not be as far apart as this one was.