Metalwork - Rear Roll-Pan
Initially, I thought I'd make a rounded tail cap which would fit over the "flat" and give the car a sleeker look - I've changed my mind. I decided that an altered "stock" look would be better since the forward angled rear panel has grown on me. However, since I'm not going to run bumpers, I had to do something abut the gaping hole in the rear end.
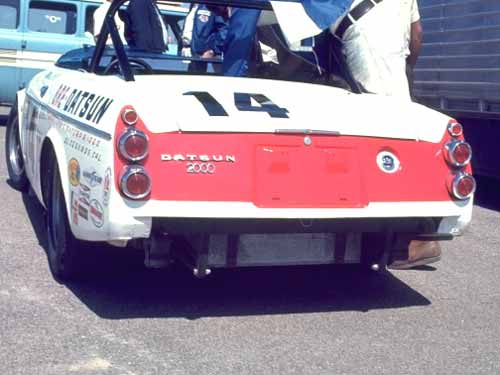
This is what a stock Roadster looks like without the bumper - note the opening at the lower rear with a lip at its top. Thanks to Rob Beddington for letting me "borrow" this pic from his website, The Classic Fairlady Register .

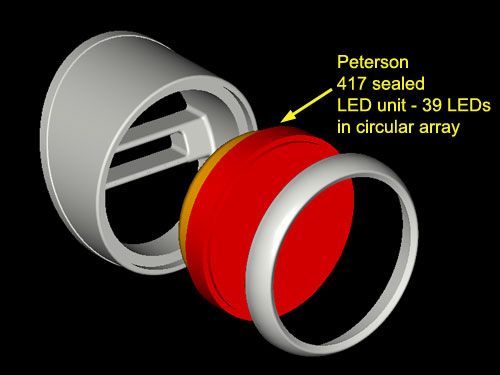
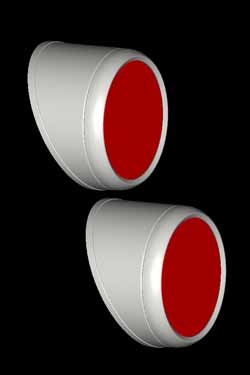
Here's what I envisioned in 3DMAX - larger taillights w/ LED units, tow-loop/jack-point nerfs, and a smooth, compound-curved roll-panel

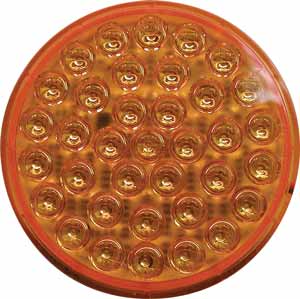
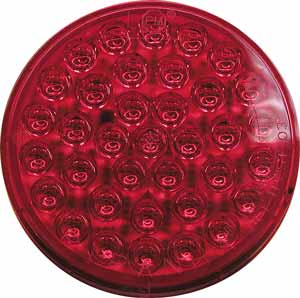
The taillights will be a three piece design - a housing and bezel that will hold Peterson Piranha LED units. These are sealed, with 39 LED's arranged in a circular pattern. Will use reds on bottom, ambers on top. The new housings will be 4.5" in diameter and will look like the stock ones on steroids...which will fit nicely on the fatter rear-end created by widening the rear quarters.
So, I made a wooden template that matched the curves / bends at each end, cut a piece of sheet metal, and started to beat on it. The easy way to form a compound curved panel would be to use an english wheel - I don't have one of those - so the alternative is to use a combination of hammers and a leather mallet. The hammers stretch or form, while the mallet lets you shrink.
First I cut off the lip, then stripped the paint - AND bondo. Evidently the car was hit in the butt-end at some point, and the rear-panel was pretty buggered. I spent at least four evenings straightening it out with a combination of hammers, dollies, and a home-made shrinking disk. ( for more info on shrinking disks go to Metalmeet ) Then I trimmed the top layer, cutting only through the rear-panel, exposing part of the flange on the truck panel to give me a shelf for the roll pan to be welded to
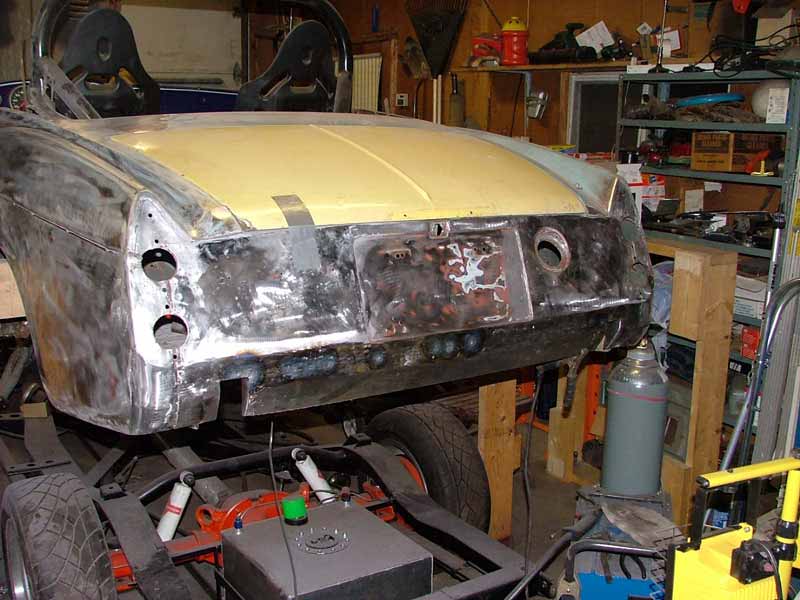
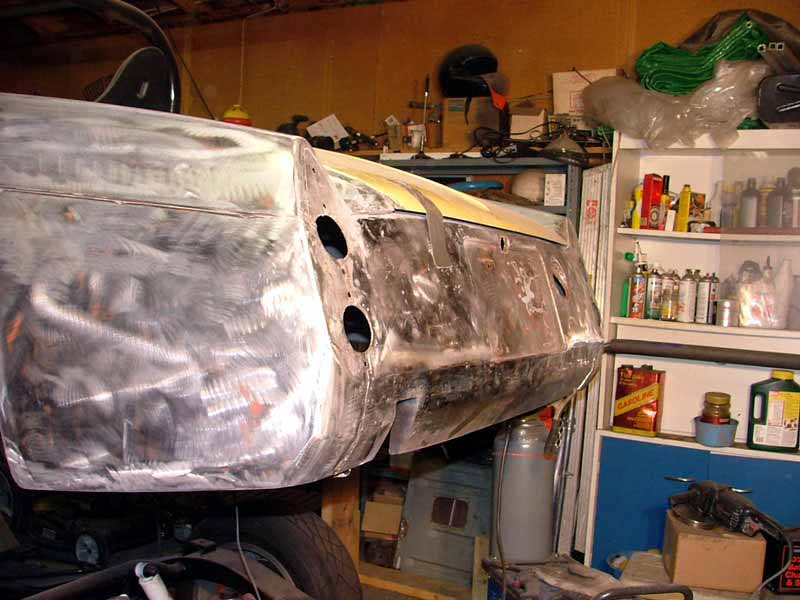
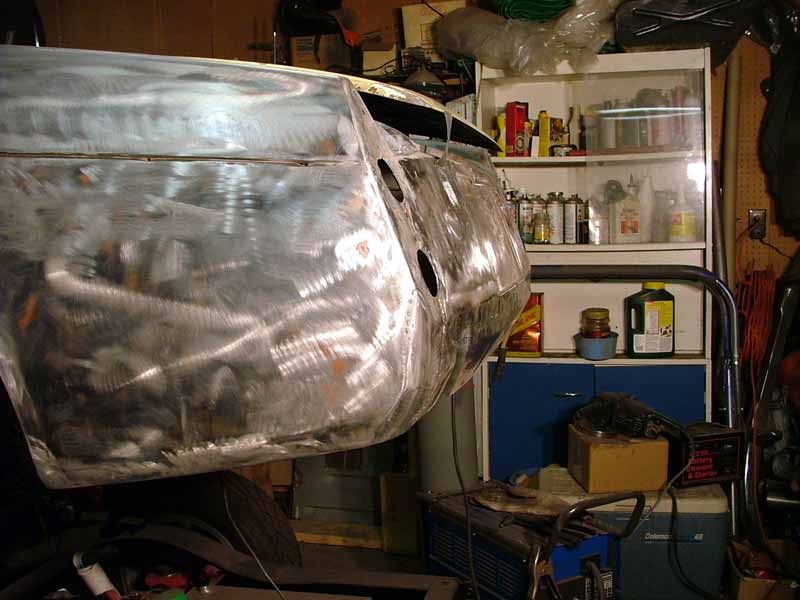
With the roll-pan in place, the forward angled ( speed-implied) rear-panel is retained, but I also attain a somewhat rounded overall look. There's still a bit of hammer and dolly work to be done to smooth it the rest of the way.
I found some information on how to both motorize a bead-roller Metalshapers . Motorizing involved buying a 6 rpm Dayton universal gear-motor on Ebay, getting some sprockets and foot pedal from Grainger, cutting a length of bicycle chain, and fabbing / welding on a motor bracket. I know the wiring should be in a metal box, etc., but I'll get to that in the near future, yeah, that's it.....
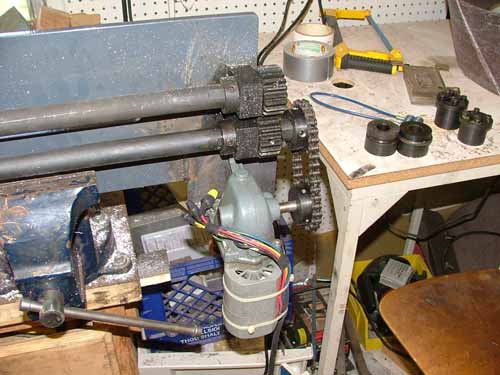
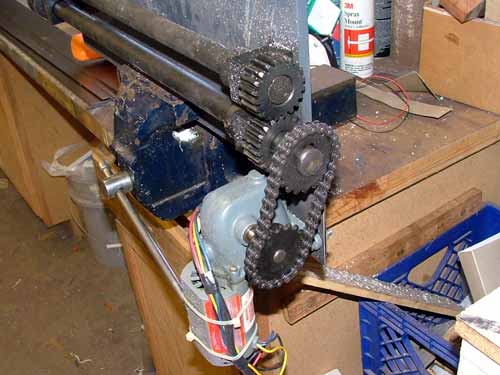
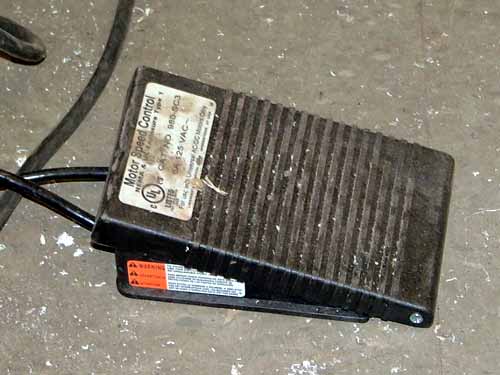
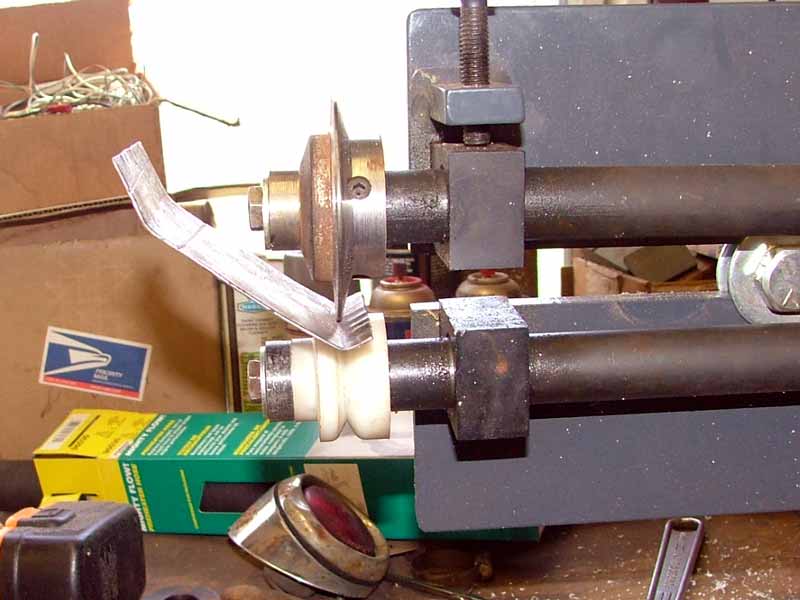
I also found info on how to make a "tipping roller" for my bead roller at Metalmeet. Basically a thin v-shaped blade roller and a corresponding v-grooved anvil turned on the lathe. I used an old v-belt sheeve for the starting point for the v-blade roller.
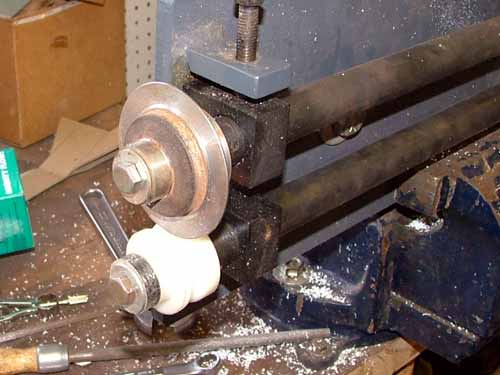
This setup allows you to progressively tip, or bend, a return lip on a panel. ( note: crimps seen are not done before tipping - just put a test piece in the rollers for the photo)
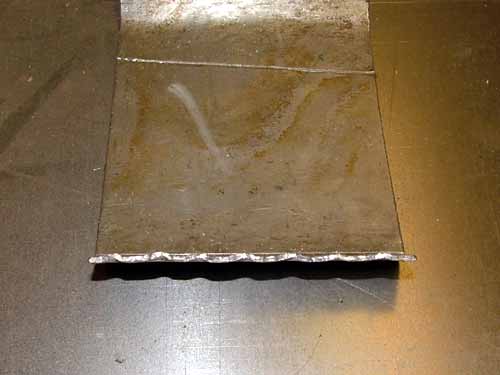
The openings for the nerfs were boxed with a piece bent into a square "U", welded in, then trimmed to the outside curve. For both strength and appearance, the roll-pan needed a return lip at the bottom. Since the pan has a large R. curve across the car, the lip needed to curve in a matching fashion.
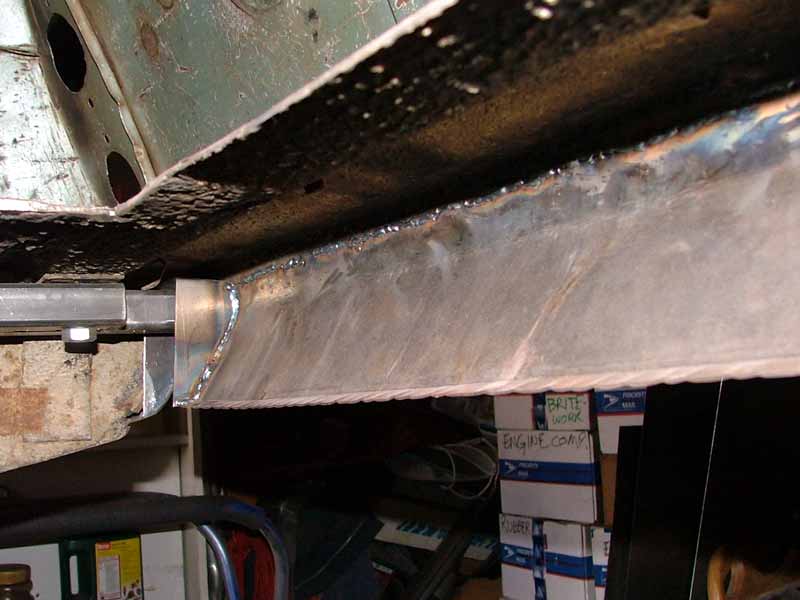
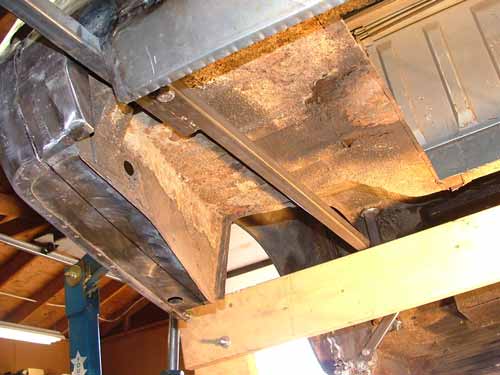
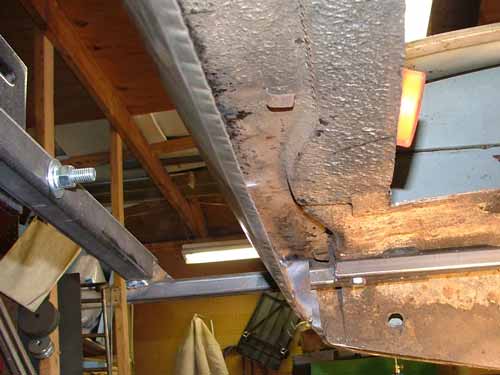
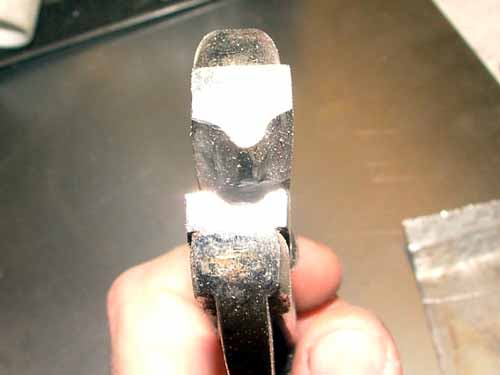
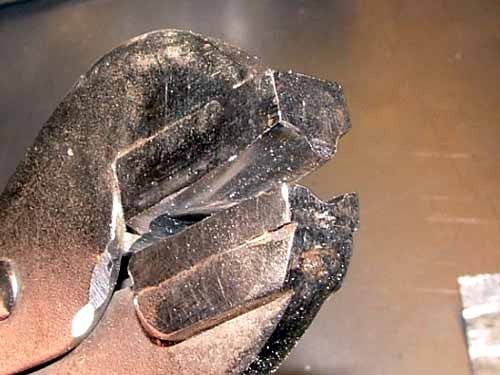
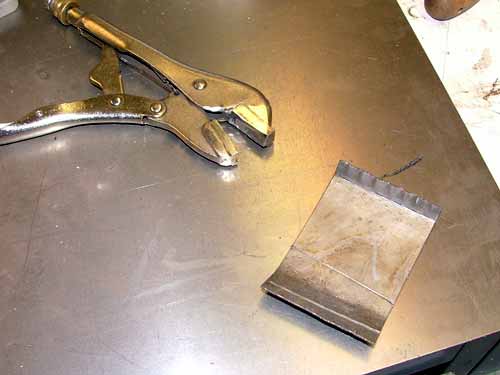
The easy way would be to use a shrinker, but I don't have one. So I made a pair of tucking pliers by grinding over-under projections into the jaws of a pair of vise-grips. Using them amounts to placing crimps along the lip at its outer edge to make it shorter than the inner edge, closest to the bend in the lip. You can see the crimps in the bottom lip in the pics above.
