Making the taillights
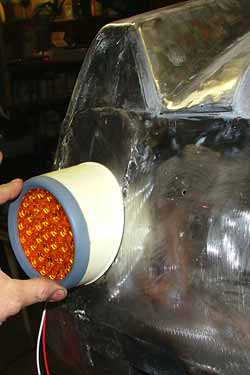
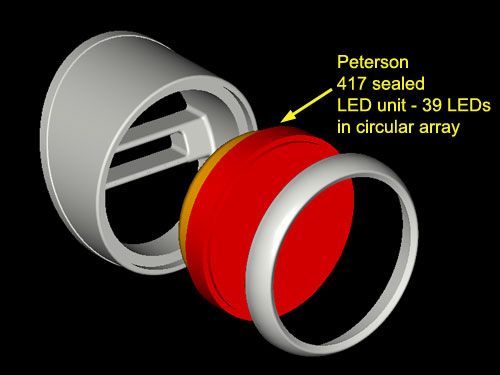
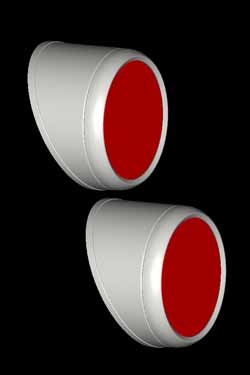
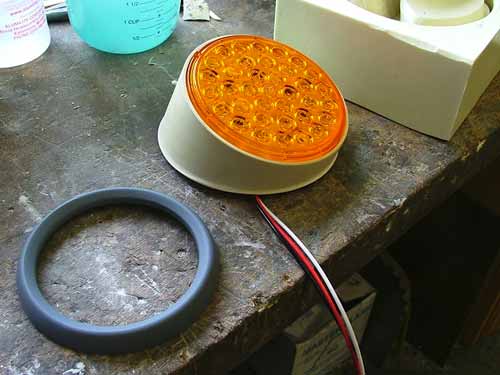
The taillights were planned as a three piece design - a housing and bezel that would hold Peterson Piranha LED units. These are sealed, with 39 LED's arranged in a circular pattern. Will use reds on bottom, ambers on top. The new housings would be 4.5" in diameter and would look like the stock ones on steroids...which will fit nicely on the fatter rear-end created by widening the rear quarters.
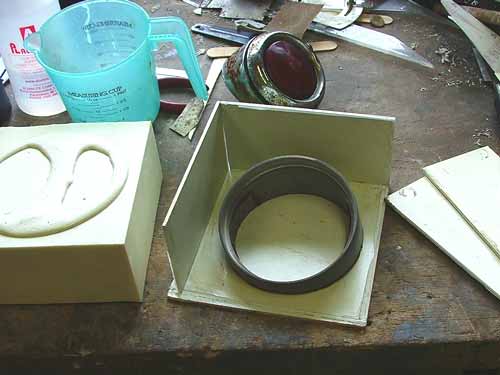
I started by making a "master" pattern from a piece of PVC, turning the inside lip on the lathe, and building up the outside with "Body Icing" polyester filler sanded on the lathe to give me the tapered side. Then a piece of rigid urethane foam was cut and fitted for the internal mounting crossbar. The whole thing was clayed down to a piece of styrene to serve as a mold base, with clay used to form the fillet at the bottom edge. Styrene side were glued up to form a mold box, and a quick-set silicone rubber mold was poured. For more information on making hobby silicone molds see Alumilite's website . You need a good scale to measure materials by weight, disposable sticks and mixing cups, etc.
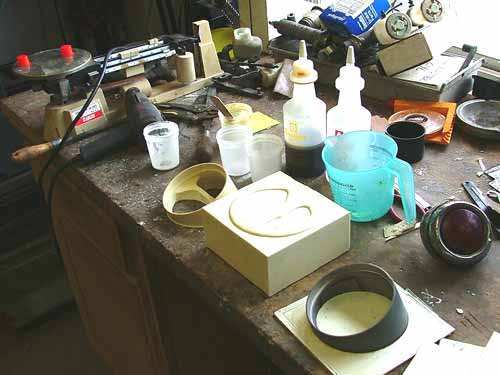
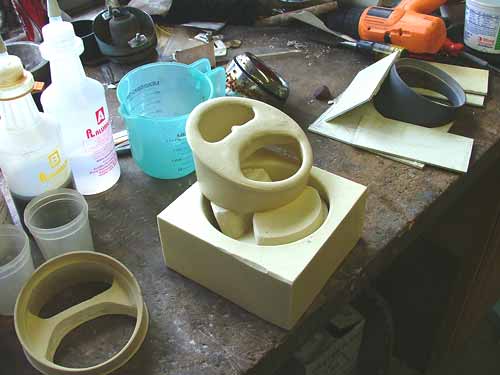
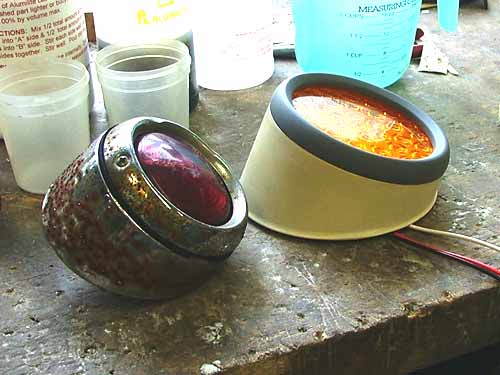
To keep the weight of the housings down, I decided to cast them from Alumilite standard urethane with glass micro balloons as a filler - 30% by volume. Rubber mold is heated up with a heat gun, the materials measured and mixed, and open poured into the single sided mold. When cured ( 10-12 mins.) the mold is flexed to remove the part. The mold was intentionally overfilled slightly to ensure a complete part after trimming
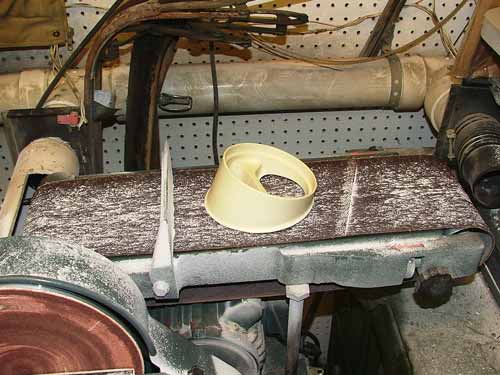
The housings were then trimmed on the belt sander.

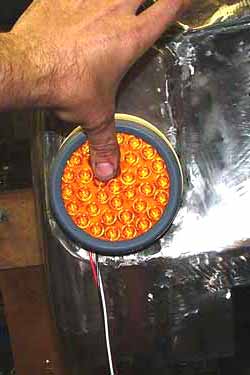
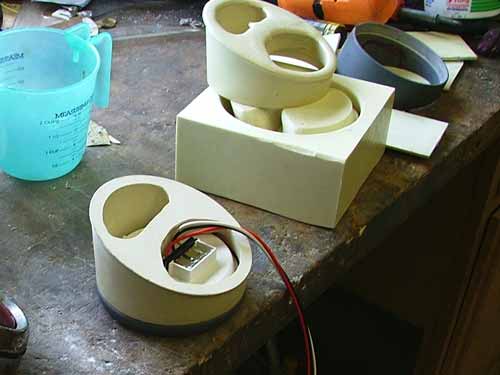
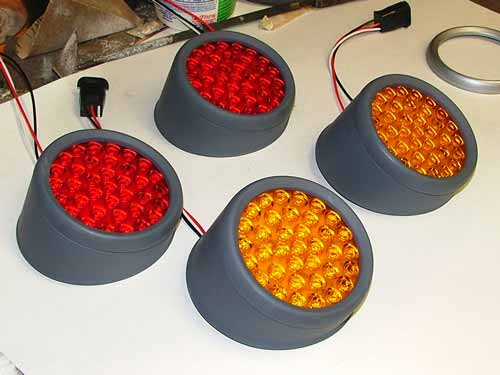
And the LED units fitted to keep the shape during final cure.
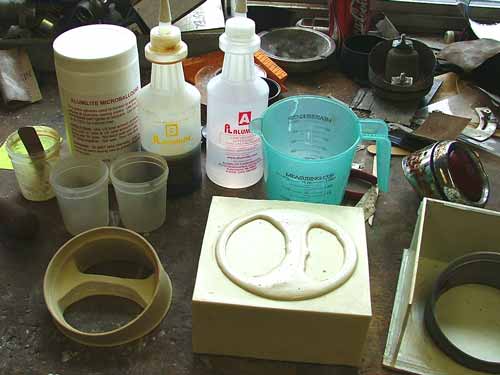
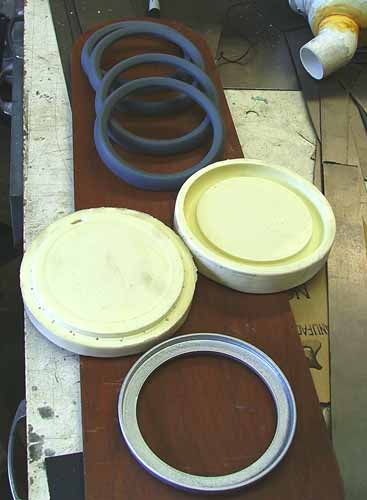
Then I started on the rings - I had made the master for the rings at the same time I made the housing pattern. The ring mold was a two part mold, requiring two separate pours of rubber, using a rubber to rubber mold release between. Again, see Alumilites's site for more info. The ring mold also needed numerous vent holes to mold properly without trapping air.
. 
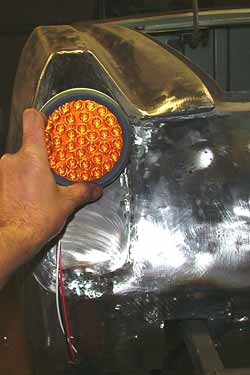
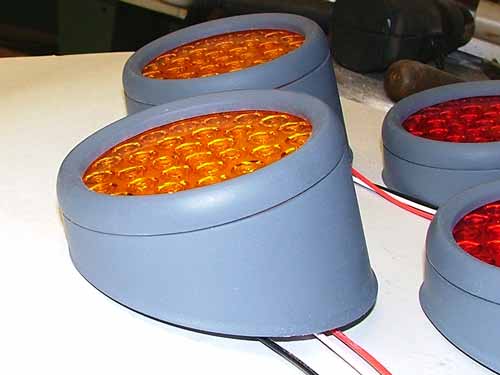
Here's a comparison of the new housing with the stock housing - I wanted to retain the character of the original if not the exact proportions. Even wanted to have the "curl" where the housing meet the body, which is why I added the clay fillet to the master before pouring the mold. Final assembly will be made using clear silicone, first gluing the LED units into the housings, then when that's cured, gluing on the trim rings - the LED units are guaranteed for 100,000 hours of operation, so it'll be a good long while before they need to be pried apart...... we're also keeping the molds in case we ever need to replace one.
And here's how they fit and look on the car with its beefed up quarters. I still need to make a template for drilling the mounting holes in the housings and the body so that they'll match up.